

Any bObsweep vacuum needs regular maintenance at home. All owners should know how to change and clean the main and side brushes, empty the dustbin, and replace the filters inside.
This guide covers all steps for cleaning a bObsweep standard or pethair model and how often they should be done.
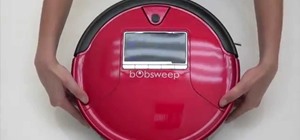
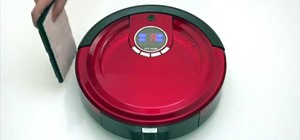
The video shows a bObsweep Pethair, but the steps are exactly the same for a standard bObsweep.
Step 1: Main Brush Maintenance
Whenever you notice large amounts of dirt collected on the main brush, remove it for cleaning.
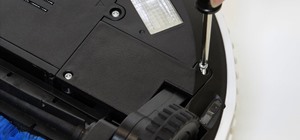
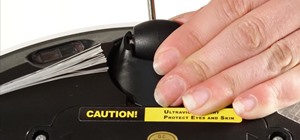
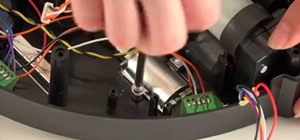
The brush is held in by one screw. Use a Phillips head screwdriver to remove it.
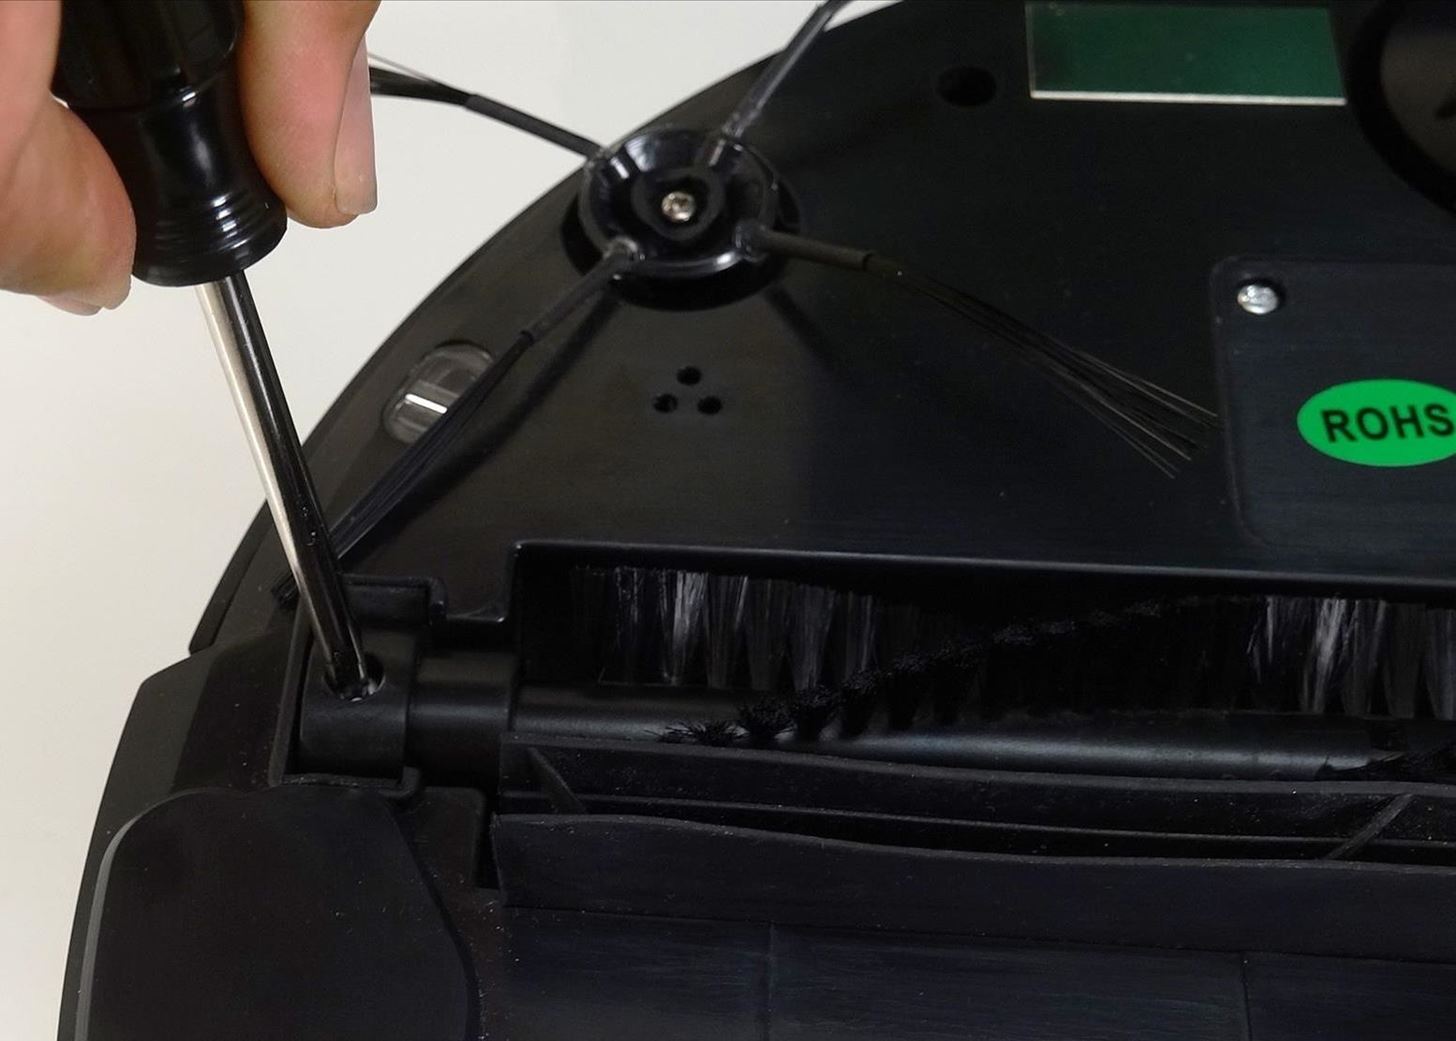
Lift up and pull the end piece off the brush before cleaning the whole thing.
Step 2: Clean Thoroughly
Use the cleaning tool or paper towel to remove dirt and hair from both ends of the brush, as well as the areas where the brush ends attach to Bob.

Scissors can be useful for cutting hairs wrapped around the brush, but avoid cutting the bristles.
Step 3: Black vs. Blue Brush
bObsweep standard and pethair can use two different main brushes. The blue one is better for thick carpets, while the black brush works best on hardwood floors.
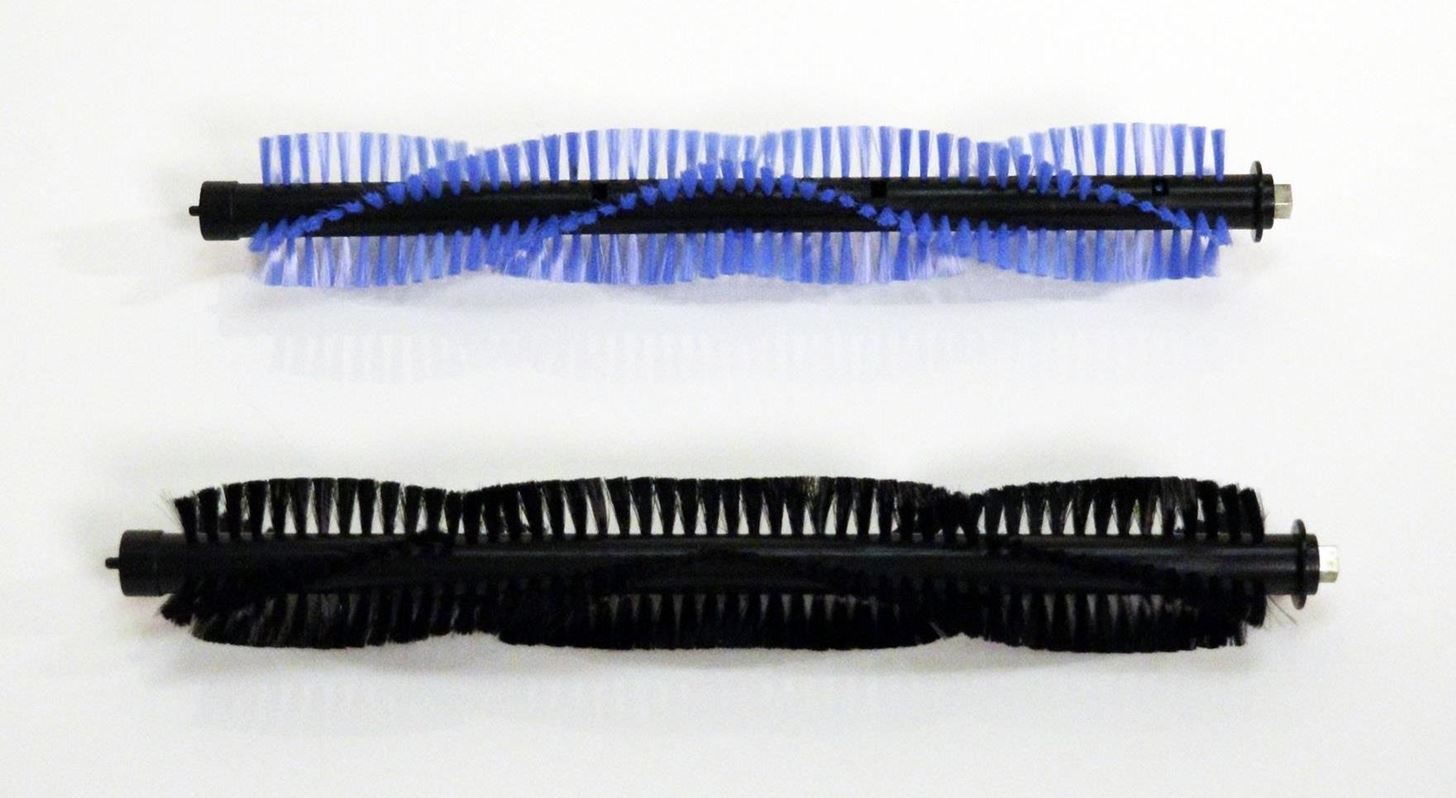
The brushes have slightly different bristles, but attach to bObsweep in the same way. The installation steps in this guide are applicable for either brush.
Step 4: Replace the Main Brush
Replace the holder (where the screw will be placed) on the pin end of the main brush.
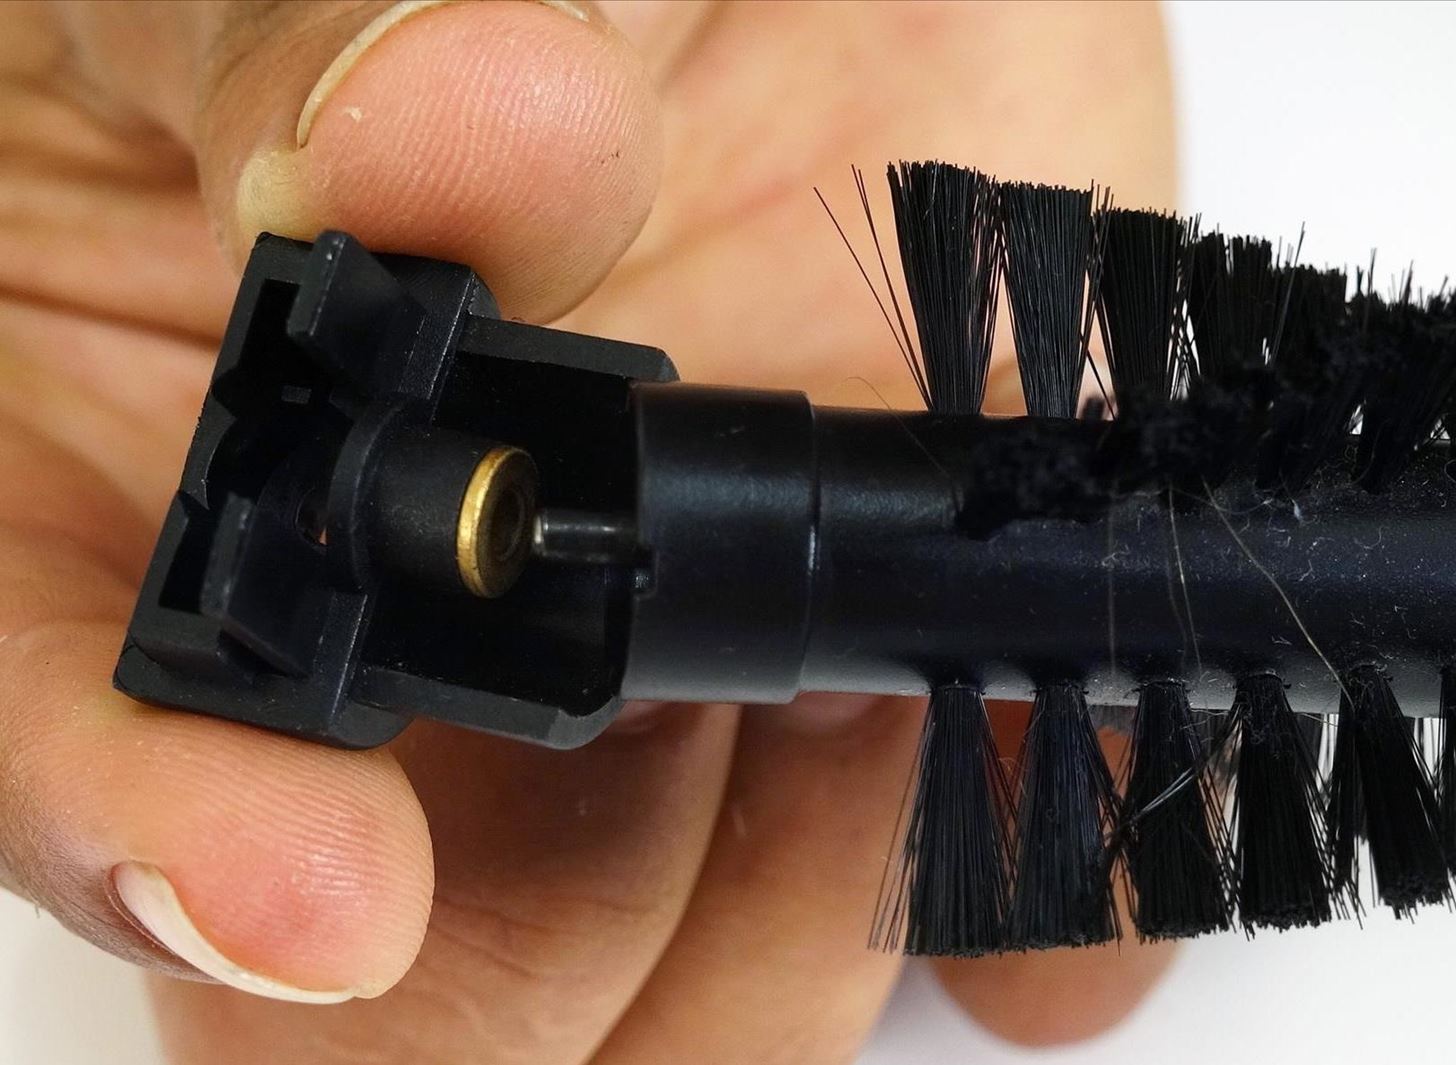
Insert the square peg end of the brush and align it with the square indentation inside Bob's brush compartment. Turn the brush slightly until you feel it fall into place.
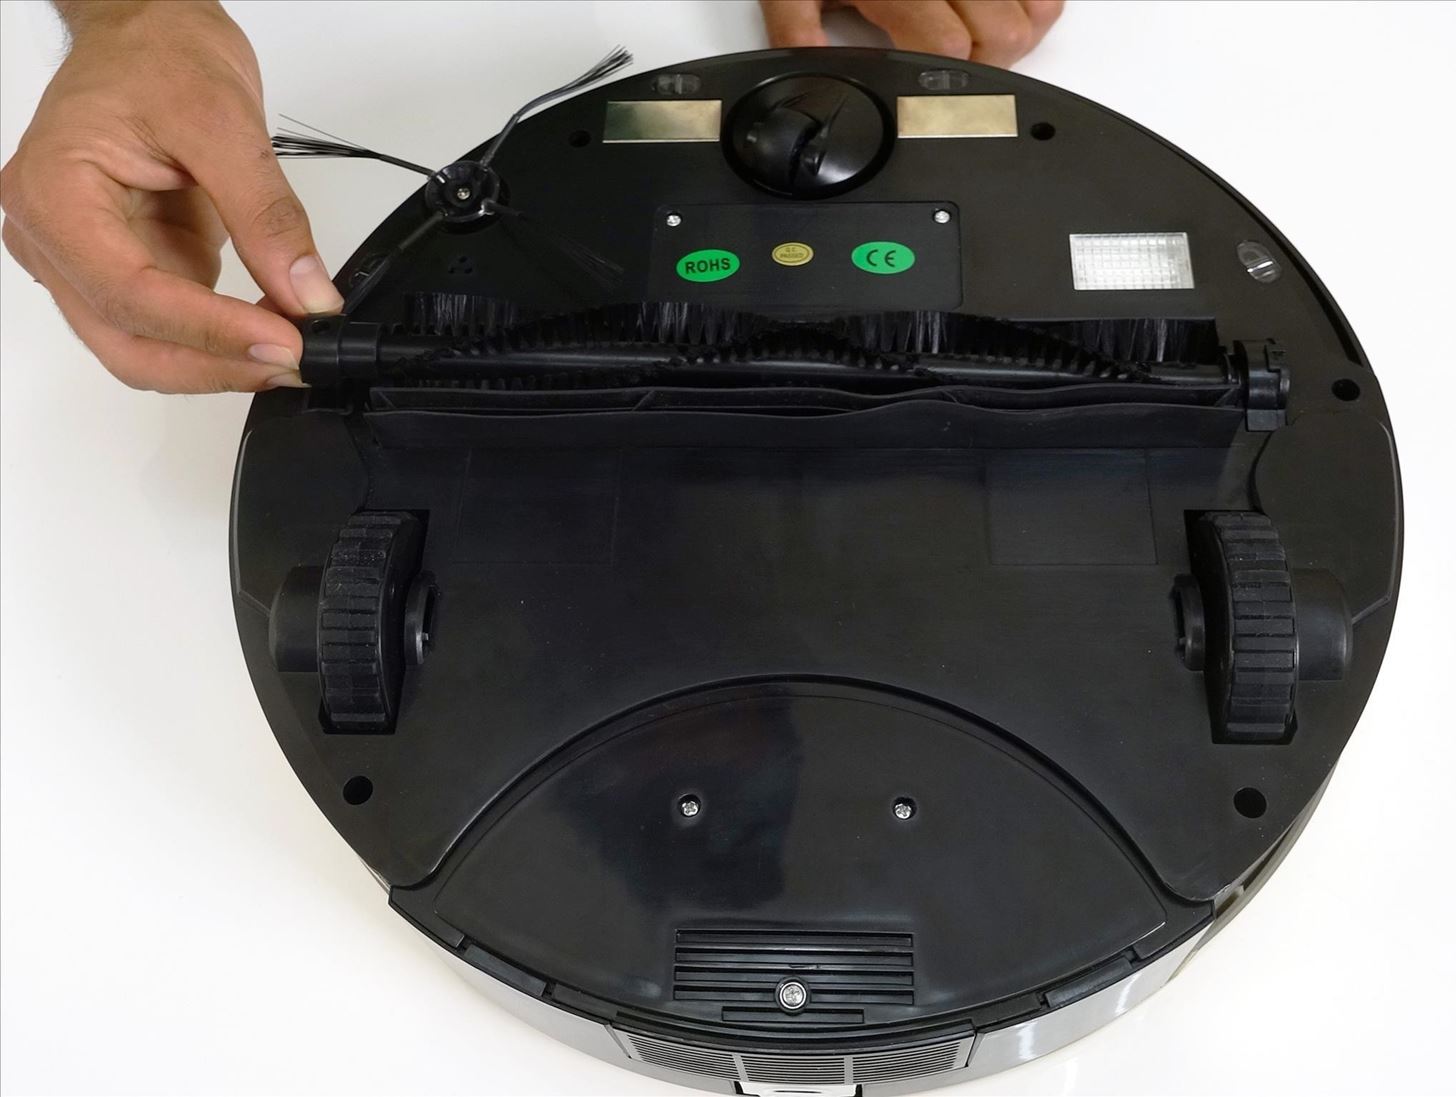
Step 5: Secure the Brush on Bob
Lower the brush into bObsweep and install the screw you previously removed.
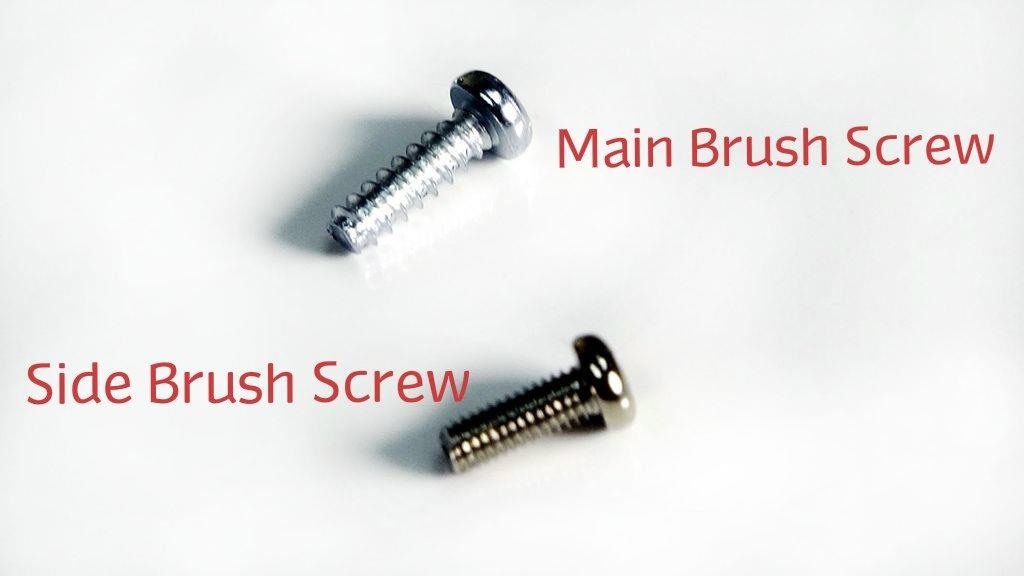
If you lose any of your screws, a replacement comes in Bob's packaging. Use the correct one for the main brush. It is a slightly longer, light silver screw. The darker screw is for Bob's side brush.
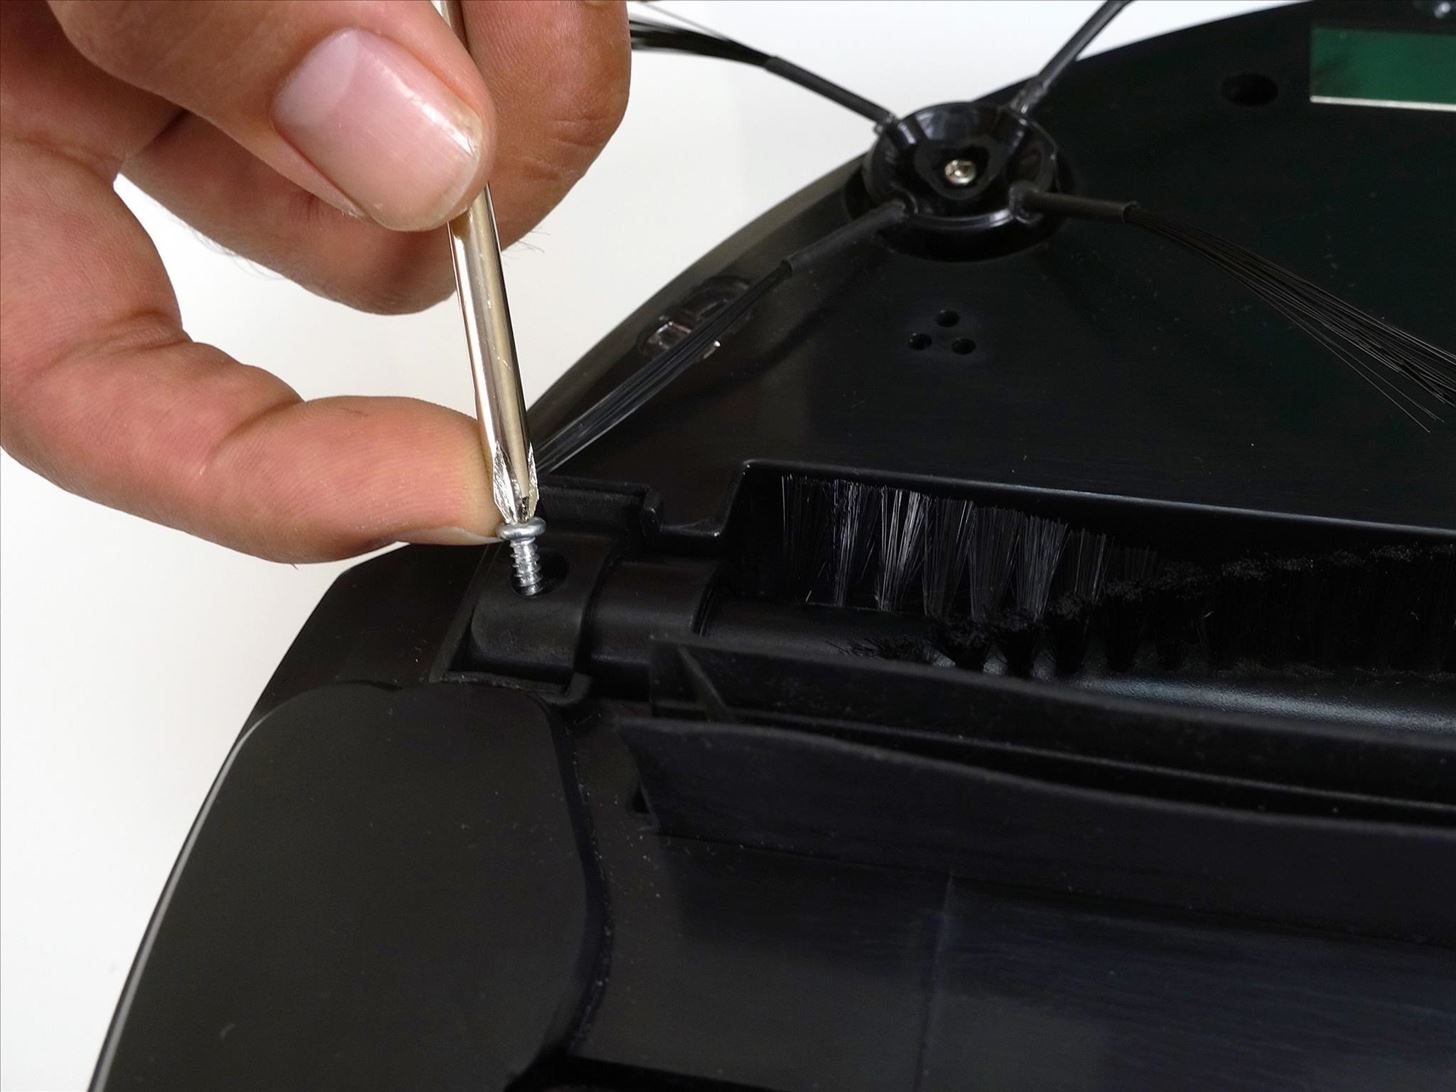
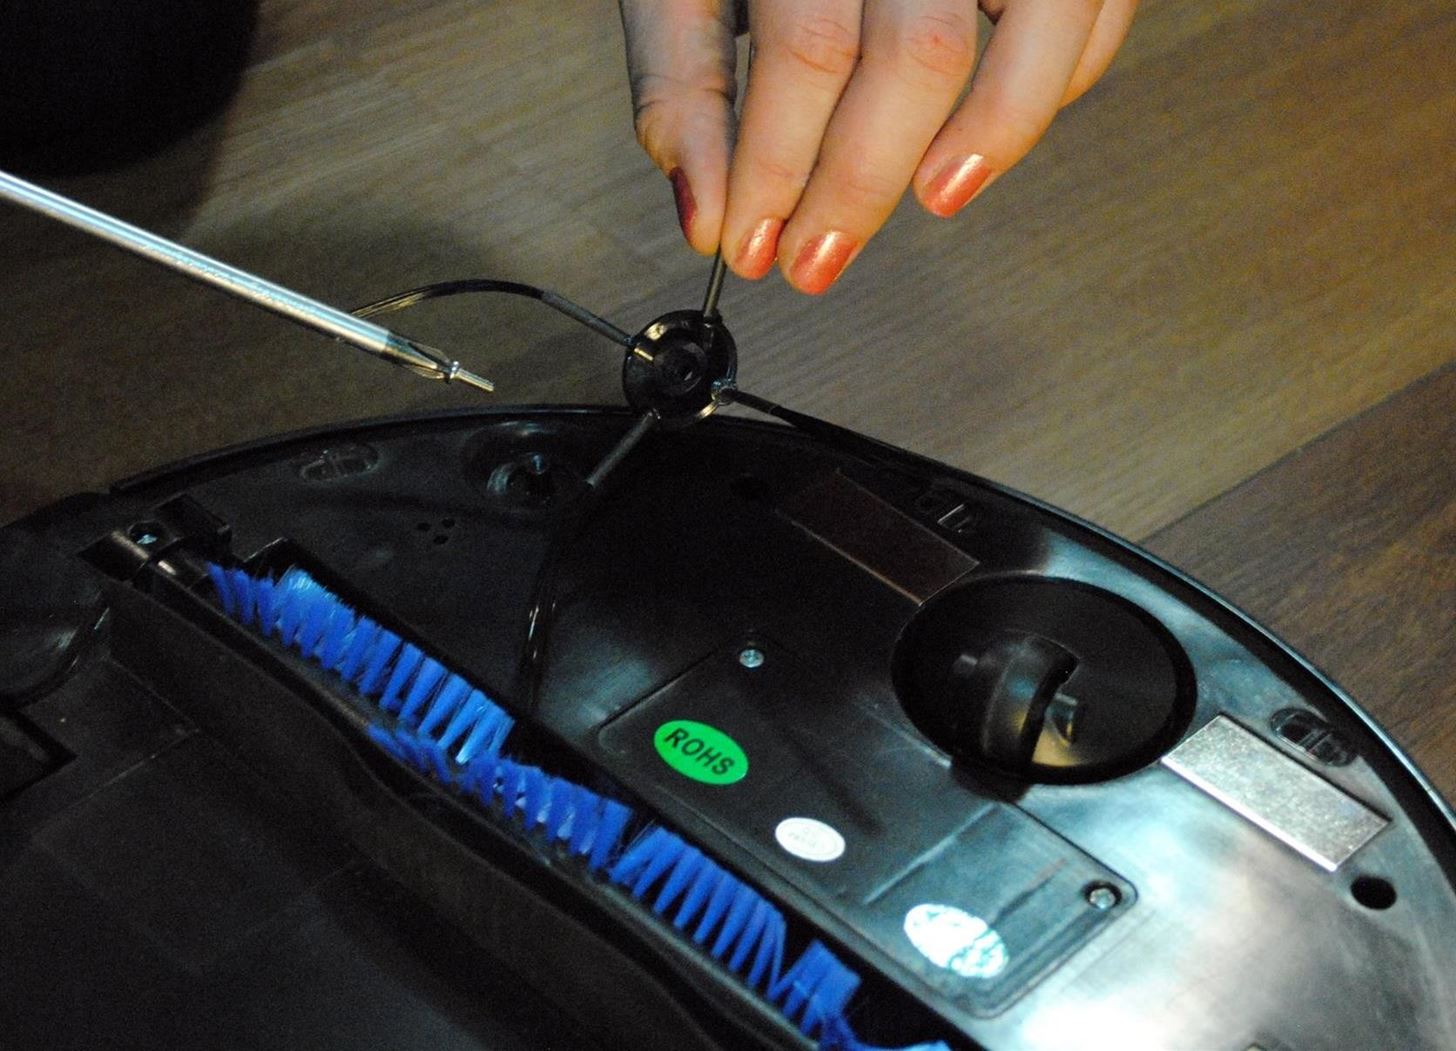
Step 6: Remove and Clean the Side Brush
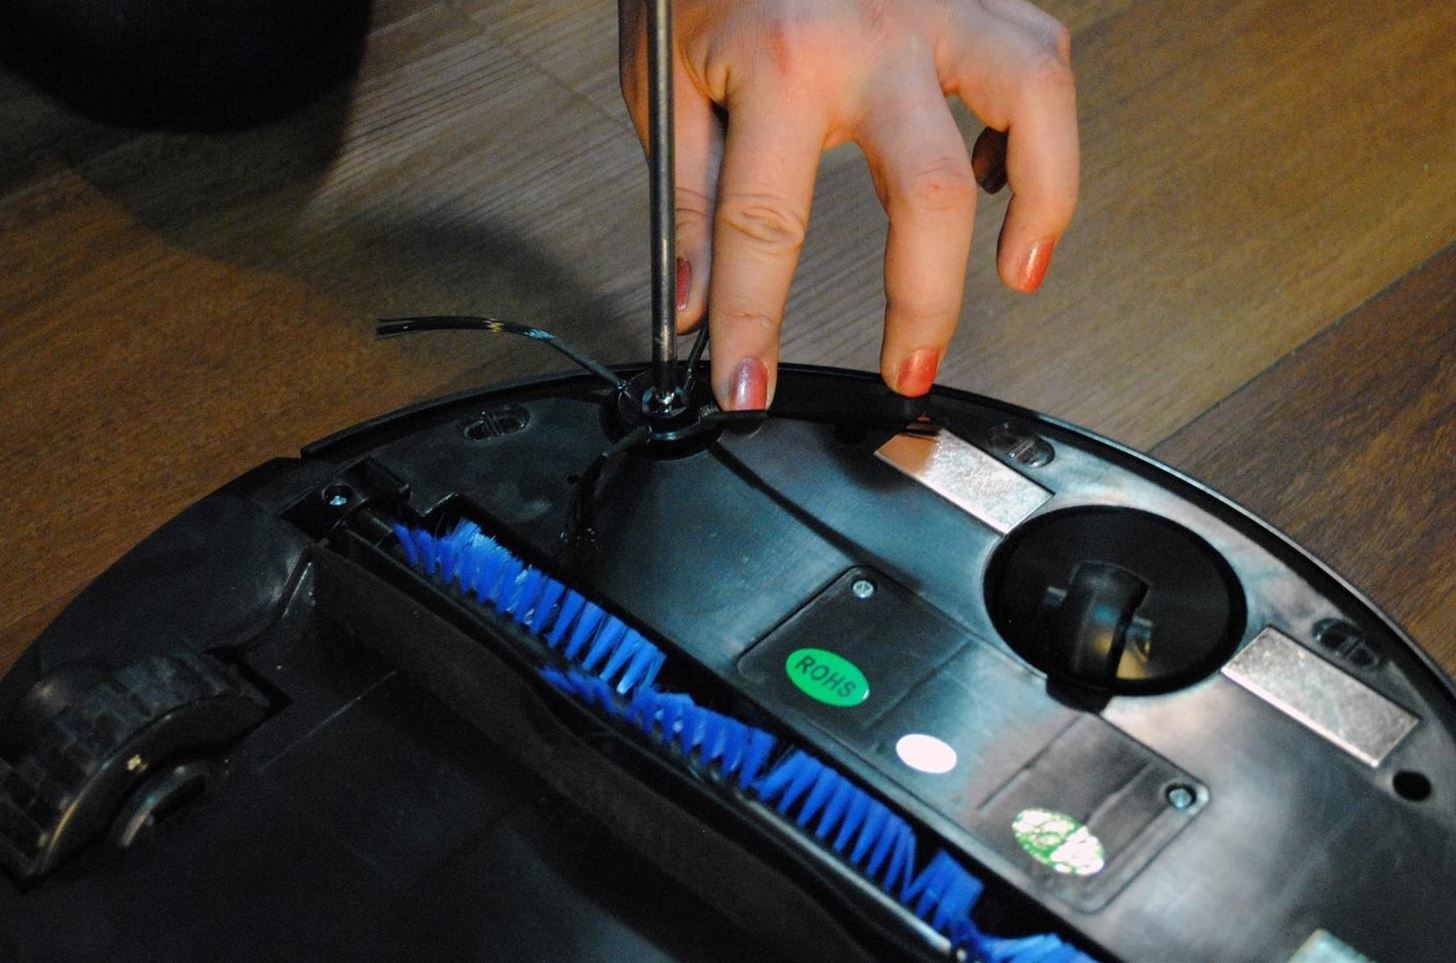
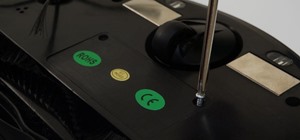
The side brush is also held in with one screw. Un-install it with a Phillips head screwdriver, and clean thoroughly whenever you notice large amounts of dust collected.
When finished, lay the brush back down so it sits flat. Like the main brush, you may have to turn the side brush slightly to align it.
Install the screw you removed previously.
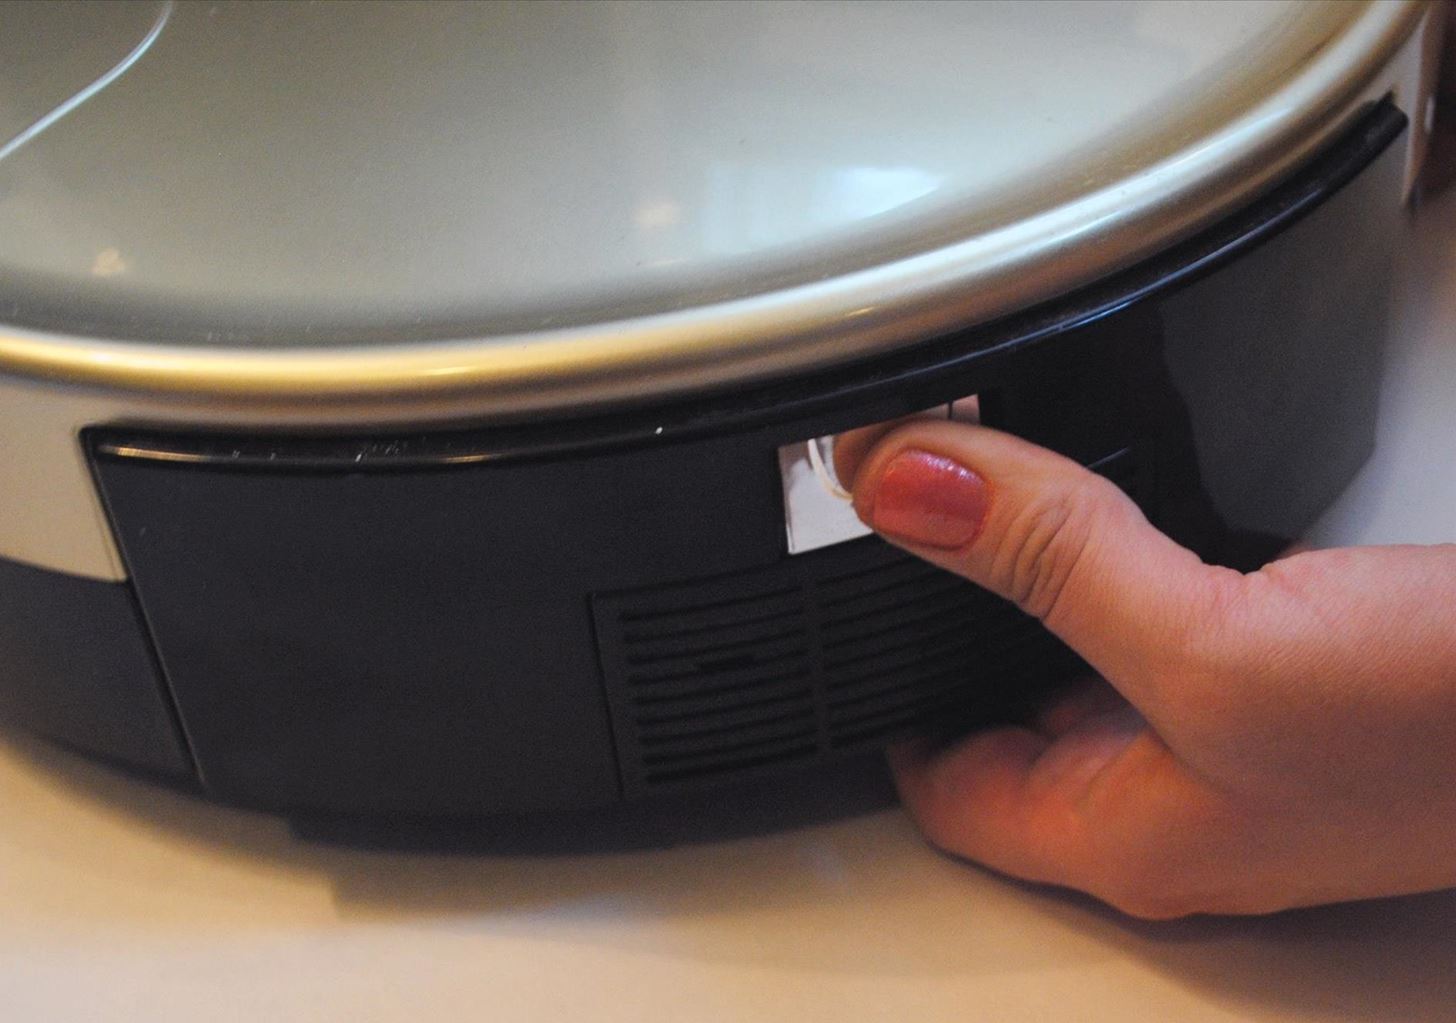
Step 7: Remove the Dustbin
These dustbin maintenance steps include: removal, cleaning, and replacing the bin and it's filters correctly.
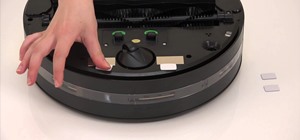
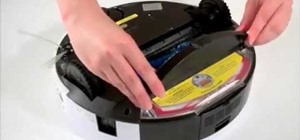
Press the silver button on Bob's back, and the dustbin will pop out.
Pull down the transparent gate on the bin and pour all debris into the garbage.
Step 8: Remove All Filters
It is recommended to replace the old filters on bObsweep with unused filters every 4 to 6 months, depending on the frequency and intensity of Bob's work.
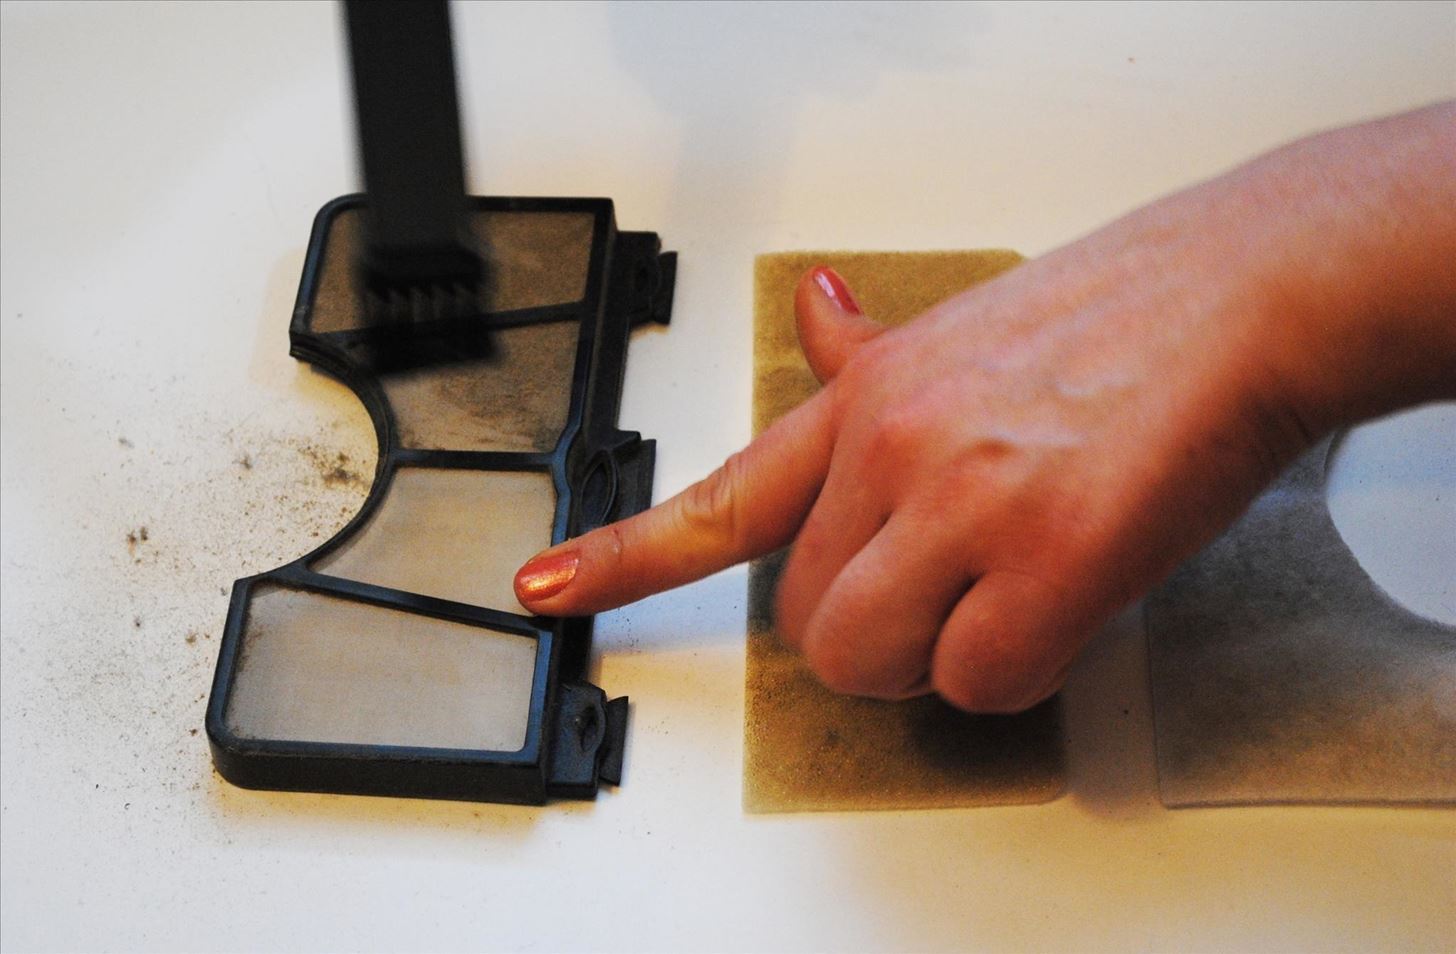
To maximize the efficiency of used filters before replacing, dust them off with Bob's cleaning tool whenever you notice excessive dust accumulation.
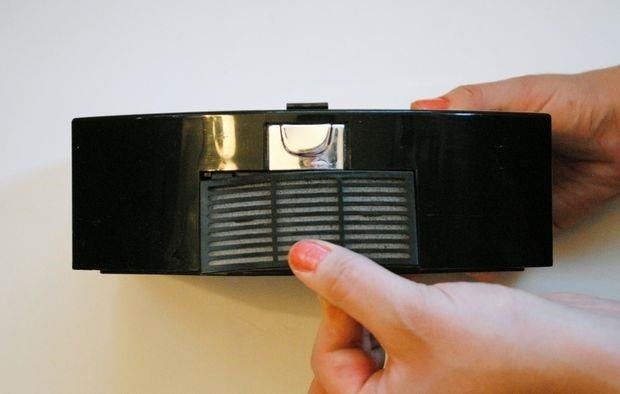
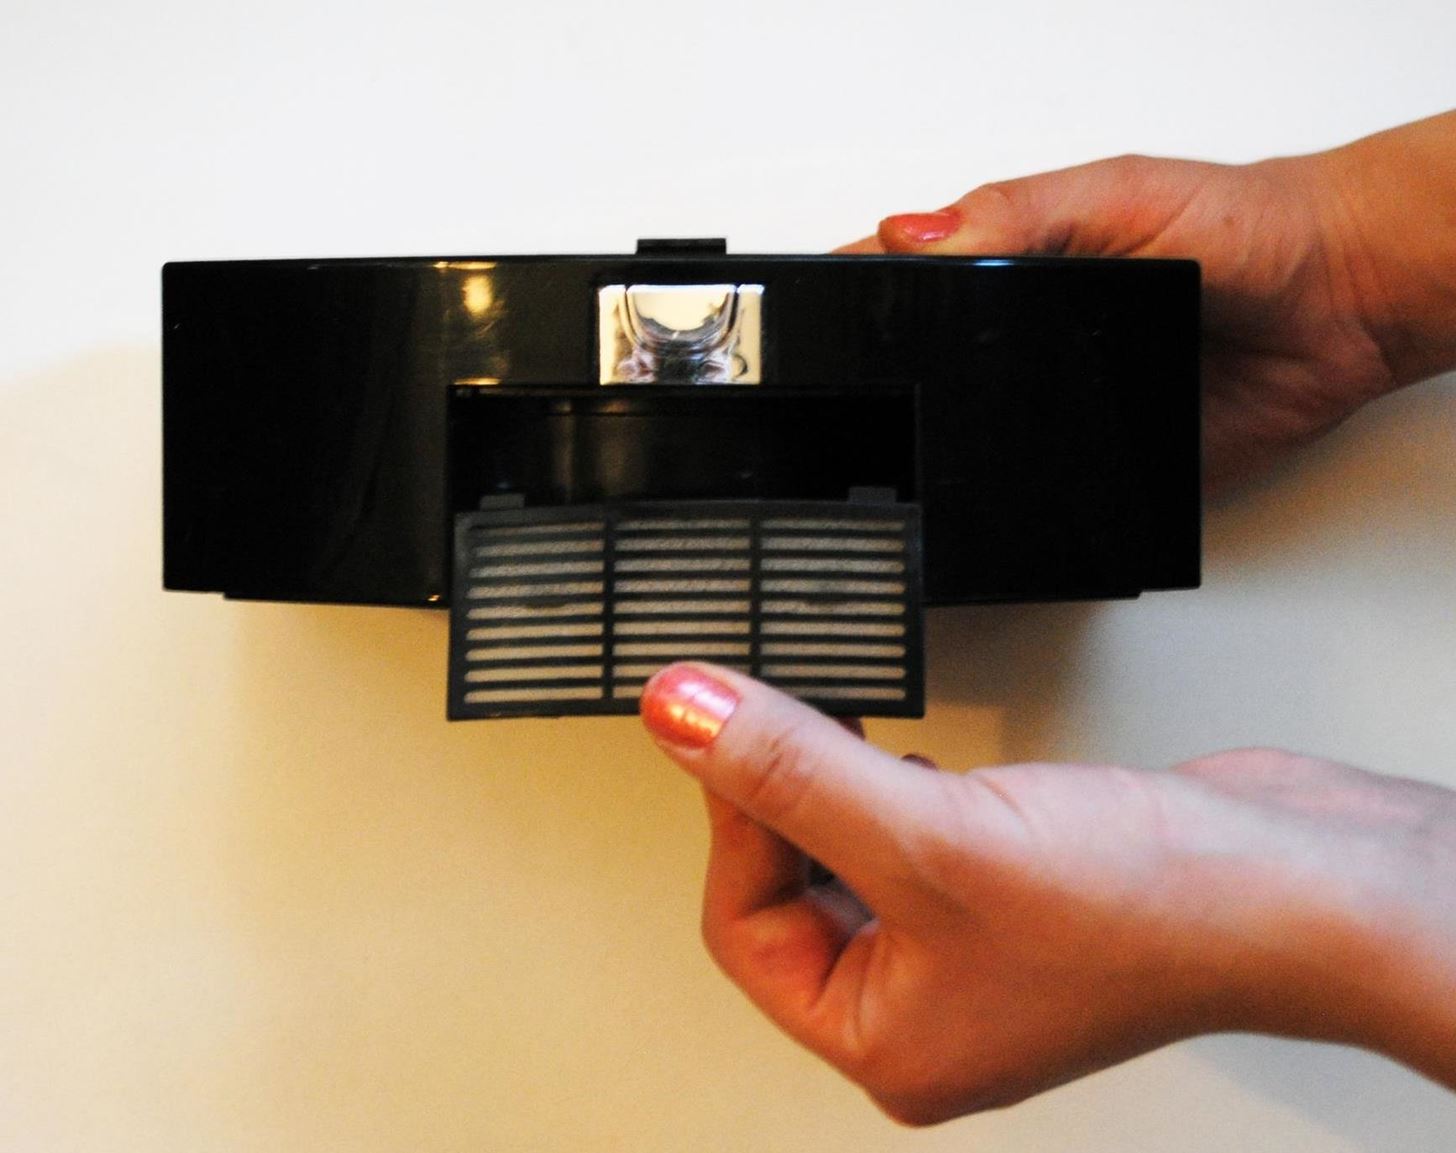
There is one small filter on Bob's back, below the dustbin's silver button. Grip it and pull down to remove.
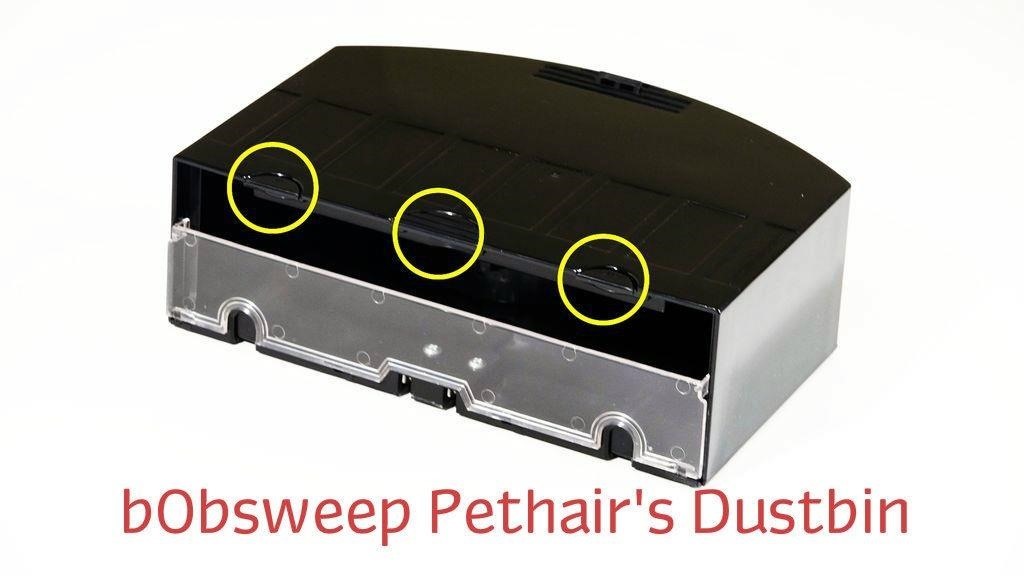
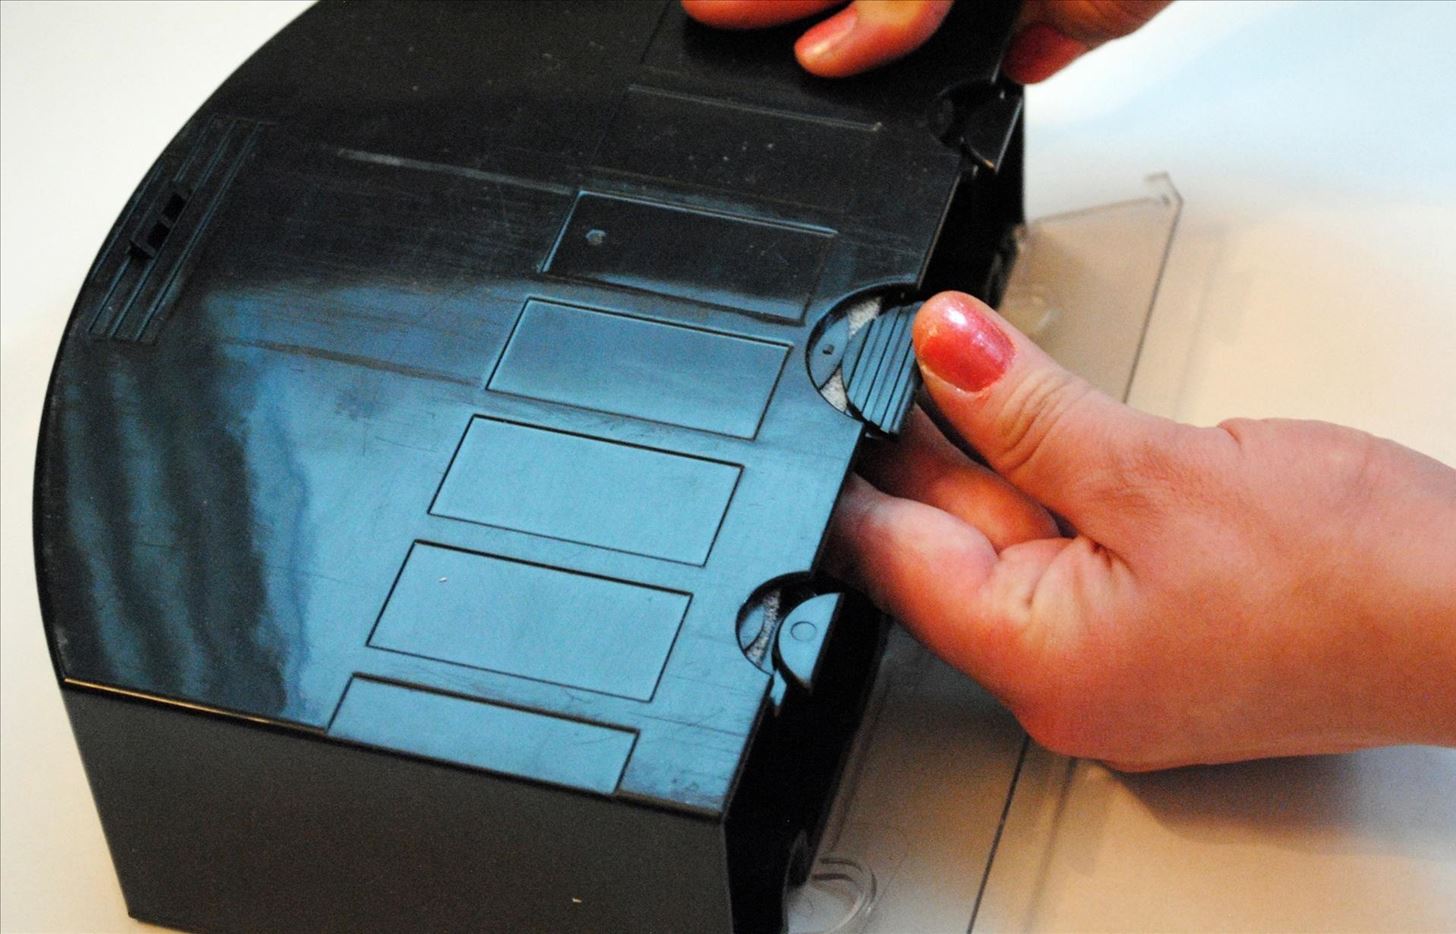
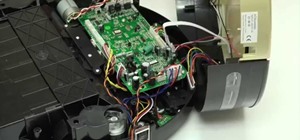
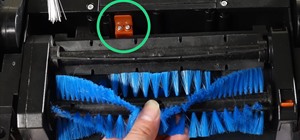
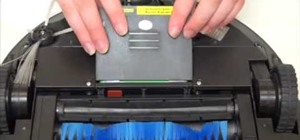
There are two more filters, one HEPA and one electrostatic, inside the bin. Grab one of the three buttons on the top of Bob's bin and slide straight out to remove. (Highlighted Yellow)
Step 9: Clean All Filters
The cleaning tool can be used to brush away leftover dust in the bin. Plus it's great for cleaning the HEPA and electrostatic filters.
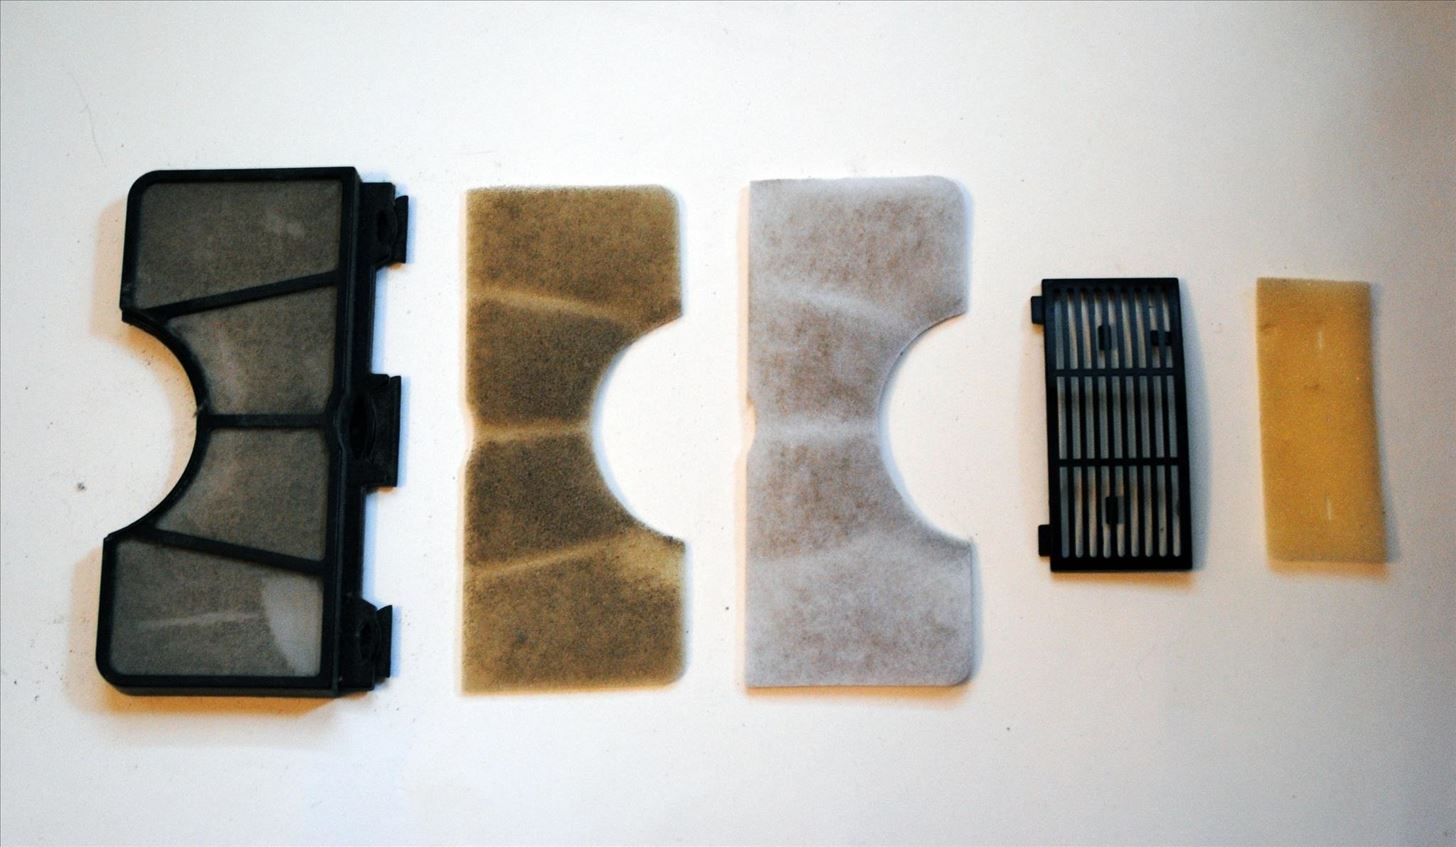
Separate the filters from their holders and brush the dust off each part: The hard filter holders and the soft filters.
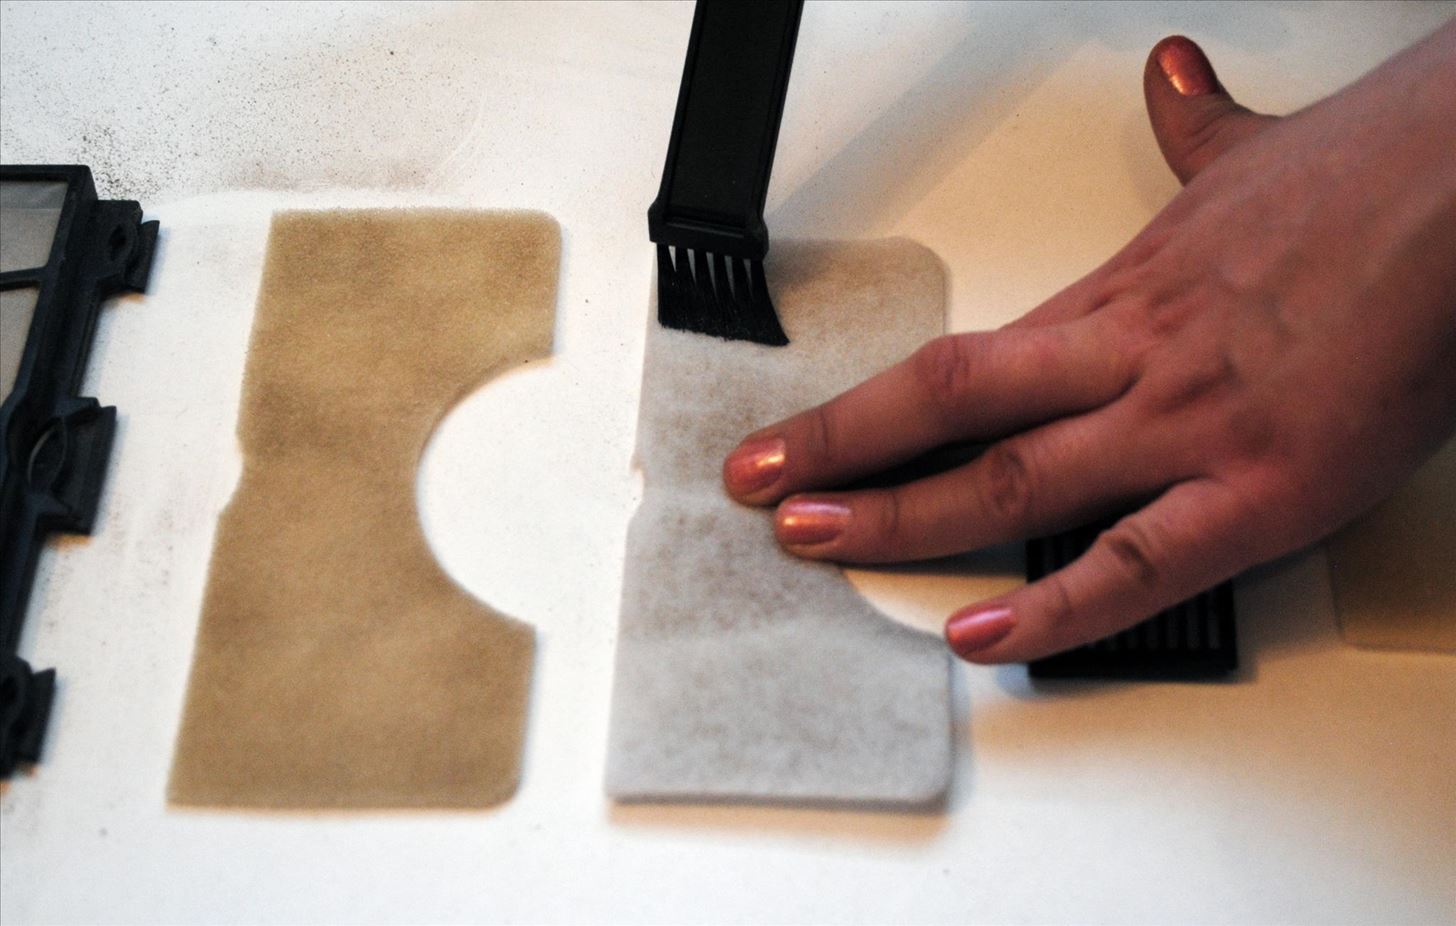
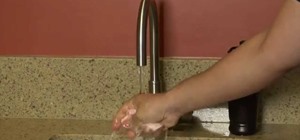
The small filter from the back of the dustbin can be rinsed with water, but the HEPA and electrostatic filters should not come in contact with water.
Step 10: Replace Filters in Order
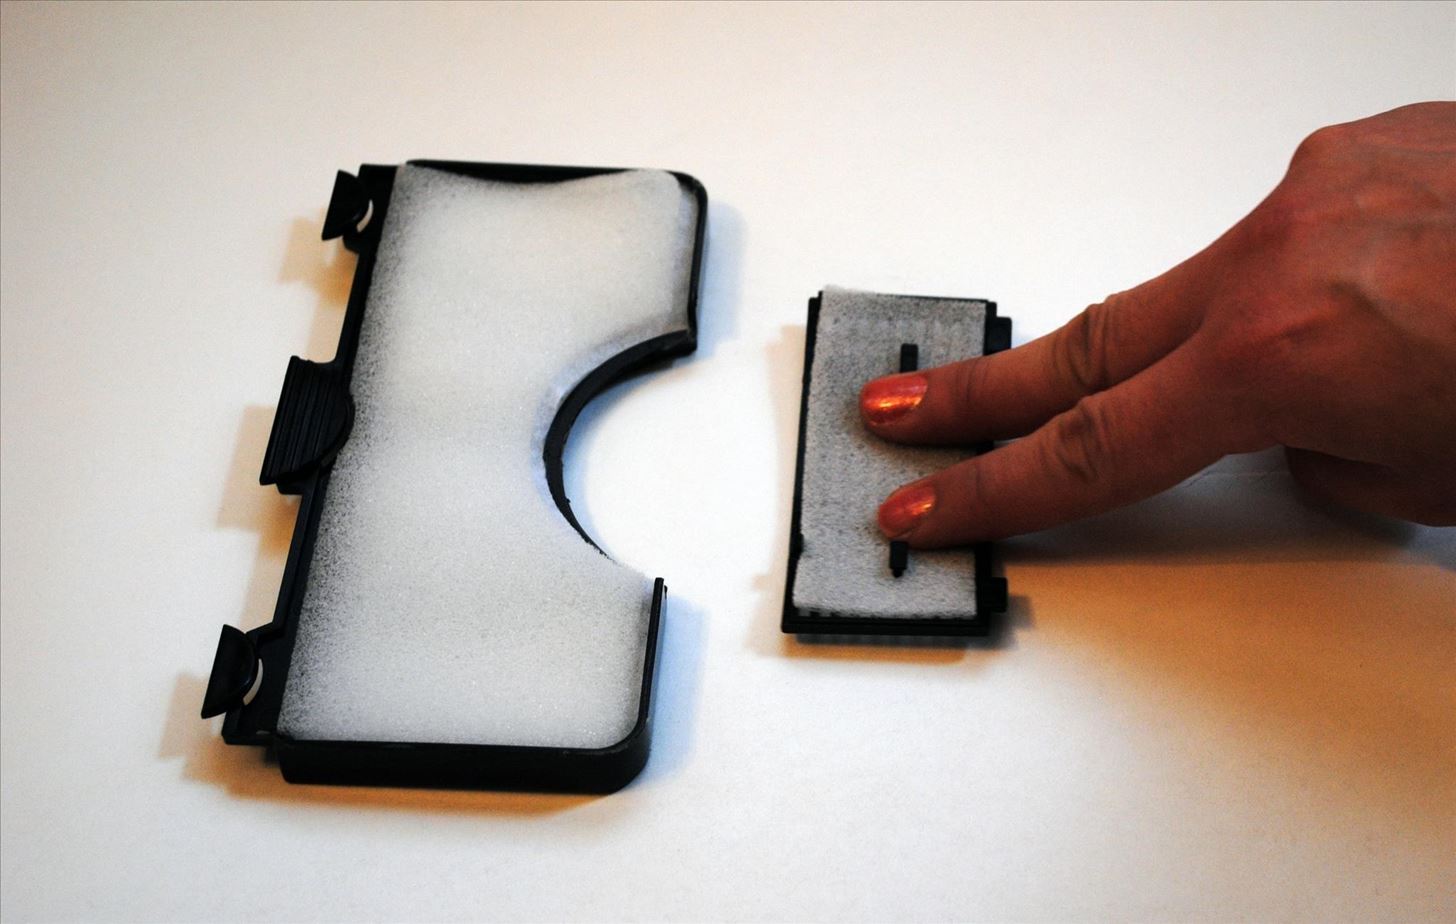
Place the Electrostatic filter in the holder first, then the HEPA filter on top.
Lay the smallest filter down on its holder. The protruding pieces of the holder should fit through the holes on the filter.
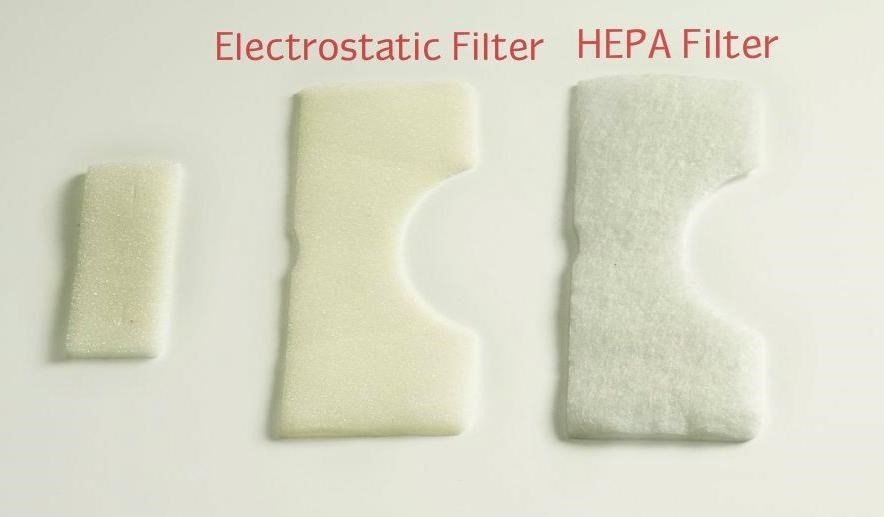
If you need help differentiating the filters, look at the thickness and texture of each. The electrostatic filter is thinner and softer to touch than the HEPA filter.
Step 11: Place Filters in Dustbin
Slide the small filter holder into place on bOb's back. There are two notches on the bin that hold it on bOb.
Slide the HEPA and electrostatic filters in place and push all three buttons so there is no space between them and the bin.
Flip the bin's gate back up and push until you hear a click. This must lock in place before the bin may be replaced.

Step 12: Replace the Bin
When you're finished cleaning bOb, simply slide the dustbin back into Bob until it clicks and locks.

Having a clean dustbin, filters, and side brush gives your vacuum the maximum amount of storage space for future dirt and dust collection.
Just updated your iPhone? You'll find new emoji, enhanced security, podcast transcripts, Apple Cash virtual numbers, and other useful features. There are even new additions hidden within Safari. Find out what's new and changed on your iPhone with the iOS 17.4 update.

Be the First to Comment
Share Your Thoughts