
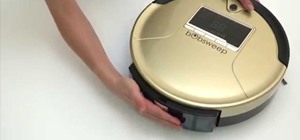
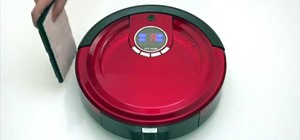
The bumper for bObsweep Pethair and Standard are installed the same way. It holds the sensors that allow Bob to see any obstacles in his path. If a repair of the wall detection sensors is needed, the steps for replacing the whole bumper are the same when working on either bObsweep model.
You'll need a Phillip's head screwdriver and a replacement bumper for your bObsweep (available for purchase at bobsweep.com).
Step 1: Remove the Cover Screws
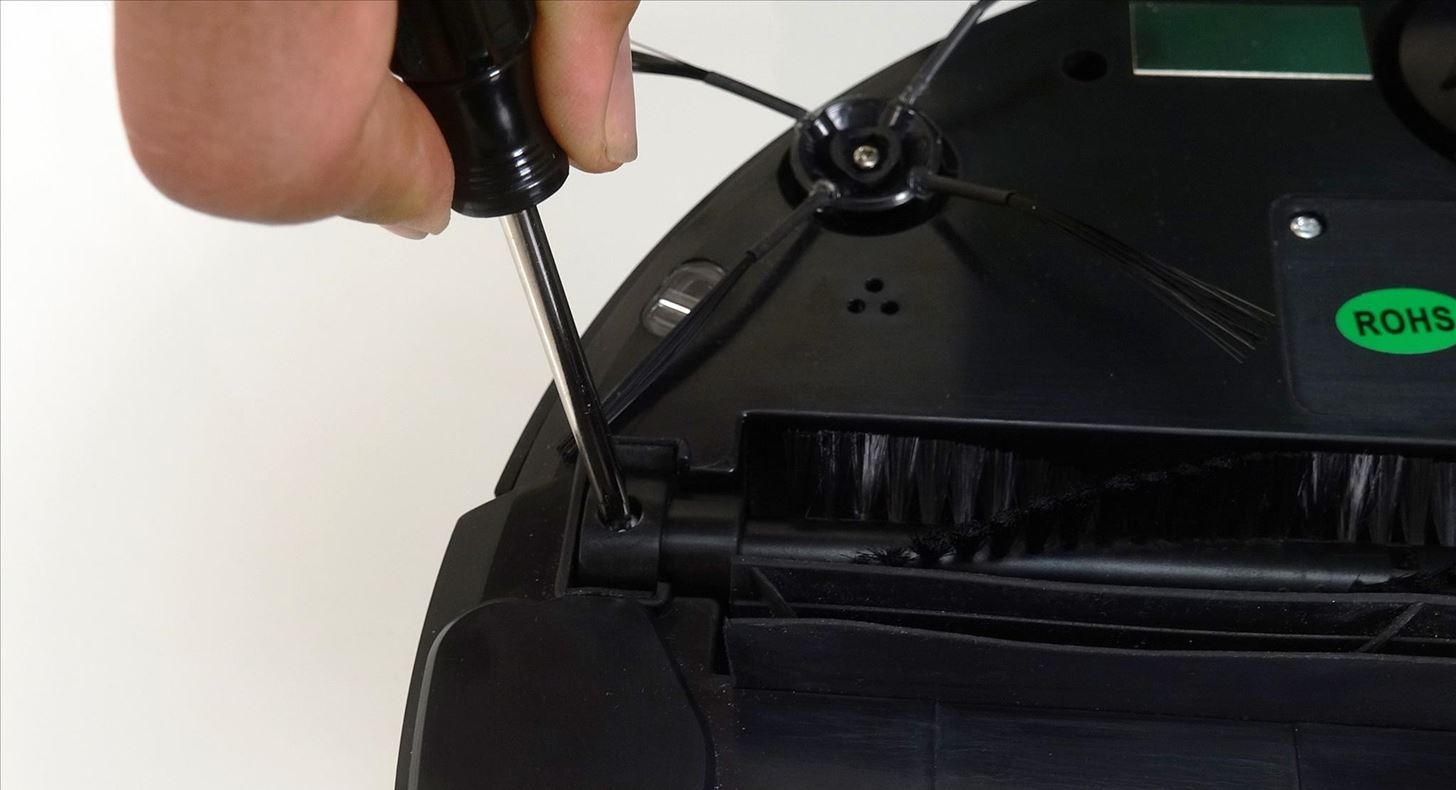
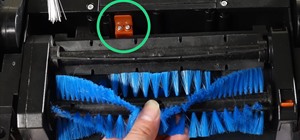
Flip Bob over and Remove the main brush. Unscrew the holder, and lift the brush out. Keep all brush parts aside for reassembly.
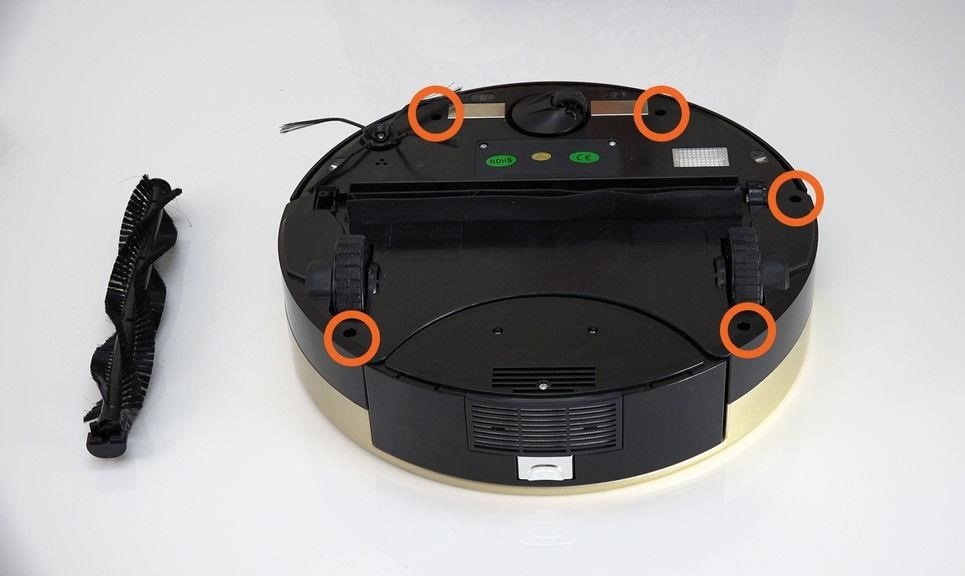
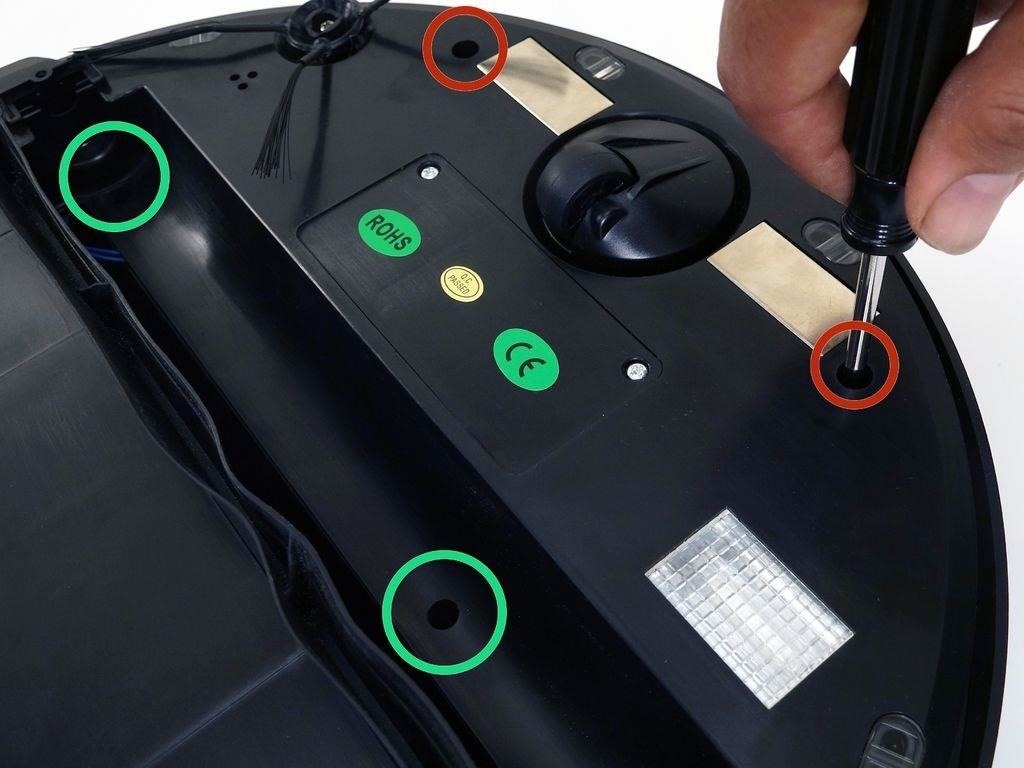
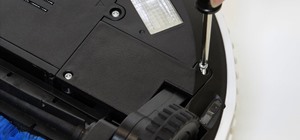
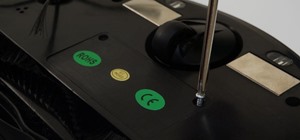
Un-install the screws on around Bob's underside. They hold the cover together. (All Highlighted Orange)
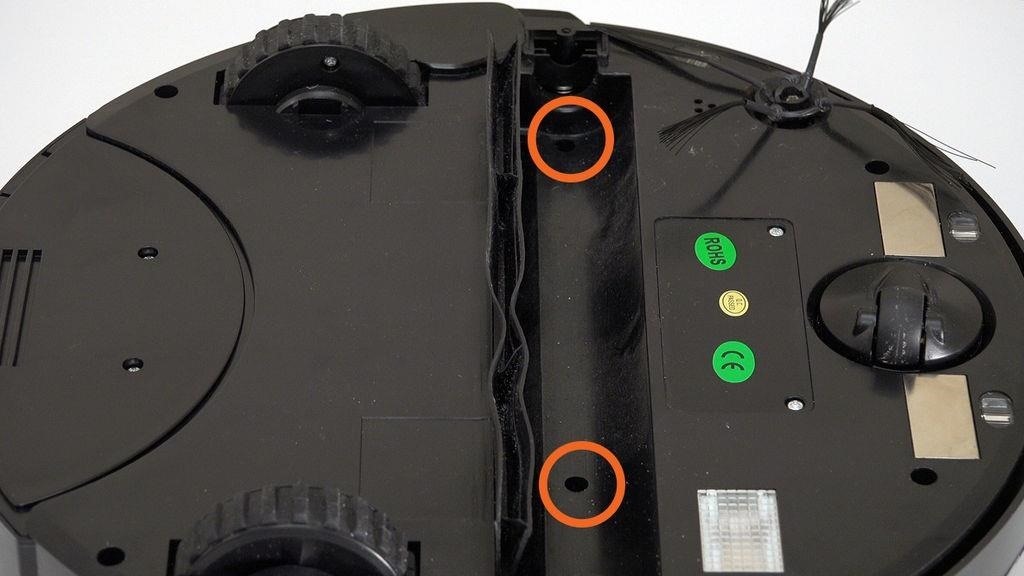
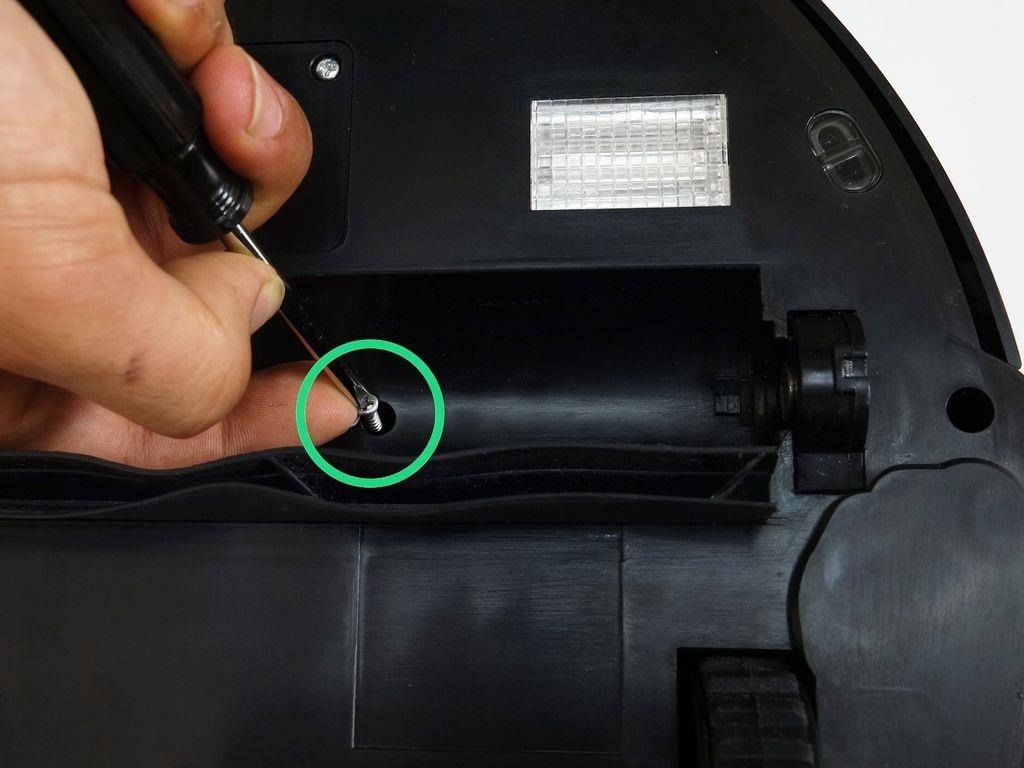
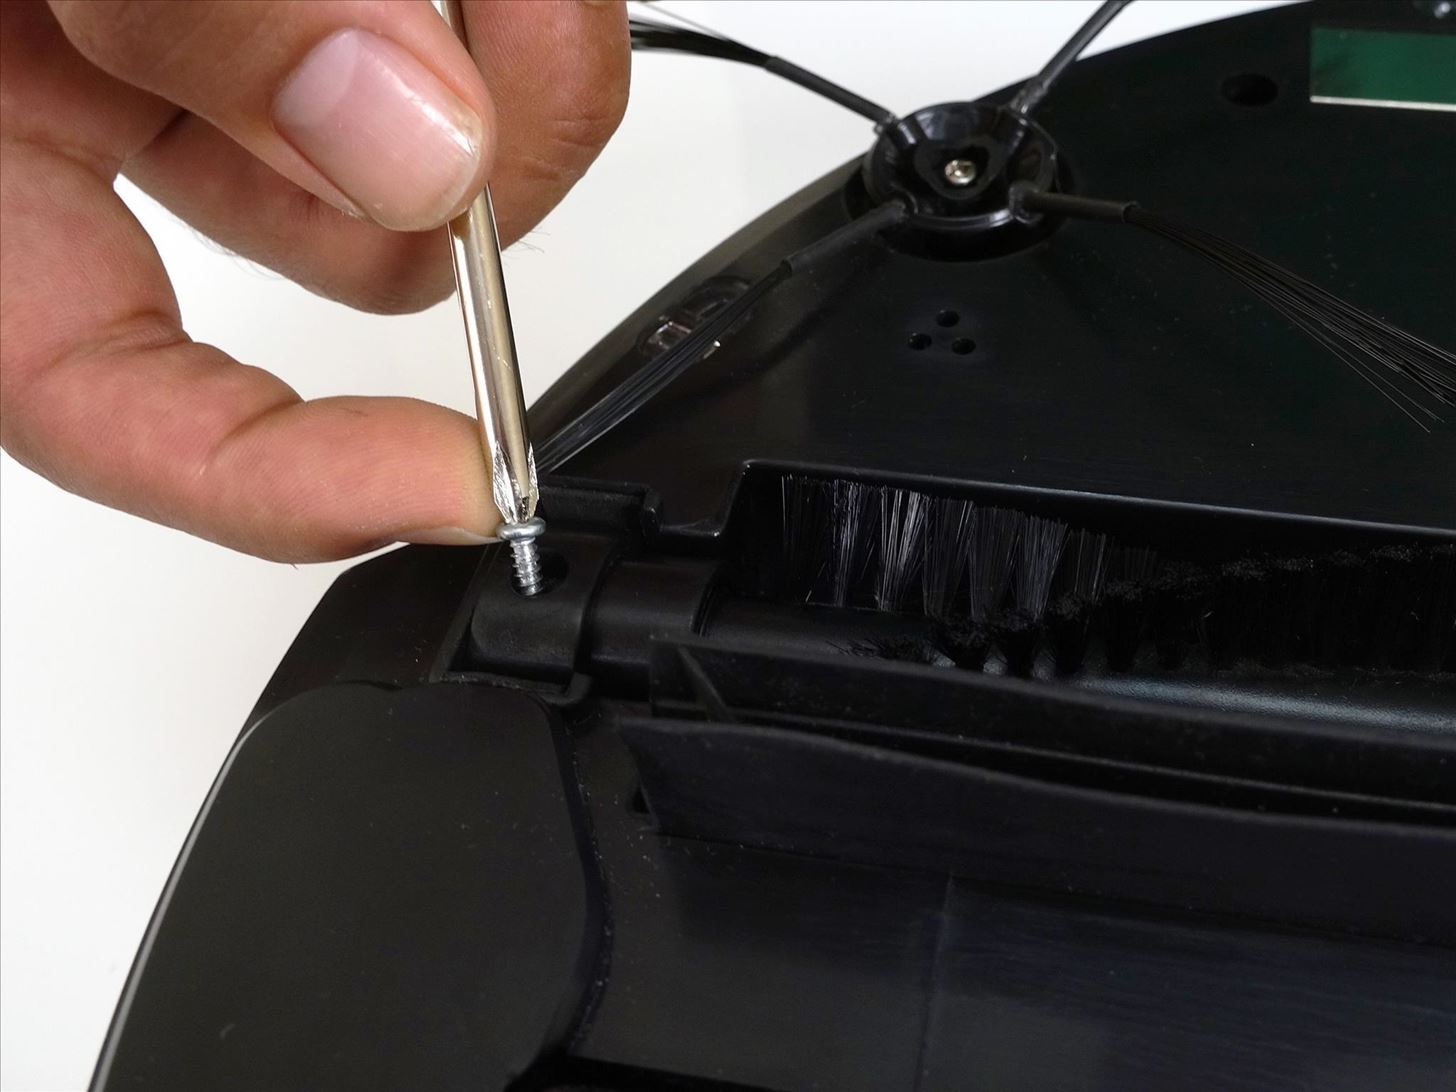
There are two screw holes inside the brush compartment: one in the centre, one on the left end. Remove both and keep apart from the main brush parts.
Depending on your model, there may be only 6 screws installed in the 7 holes of your bObsweep.
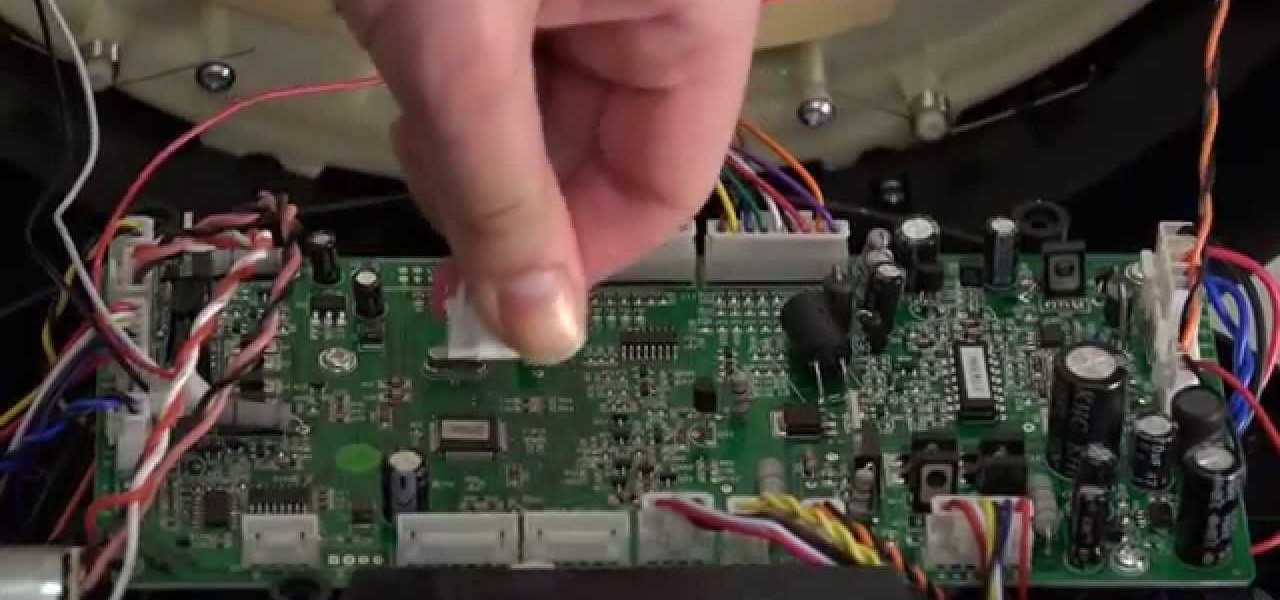
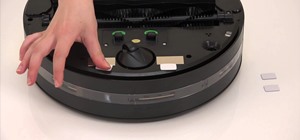
Step 2: Disconnect the Cover
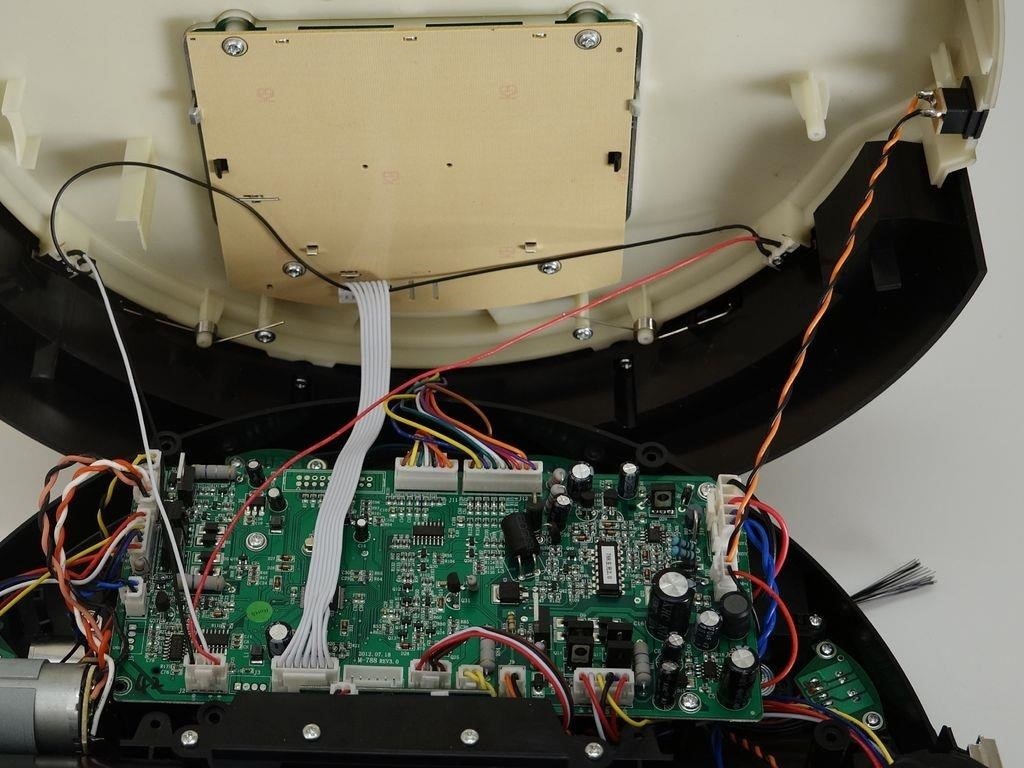
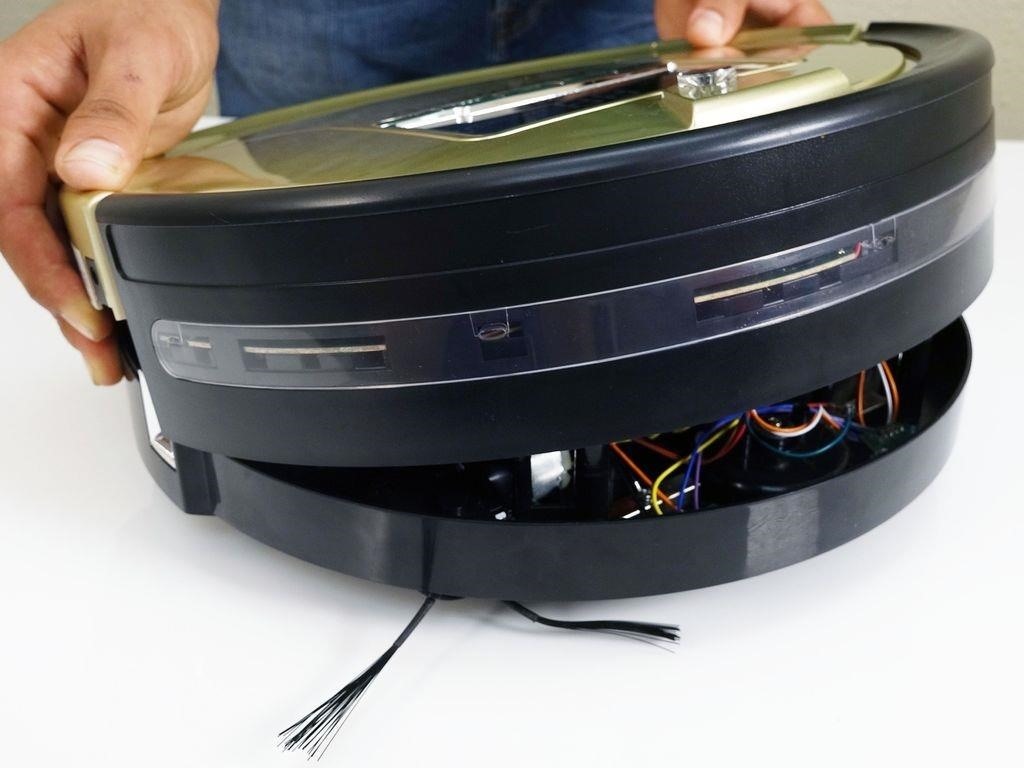
Flip Bob over carefully holding the cover together. Then, lift the cover up to reveal bObsweep's main board.
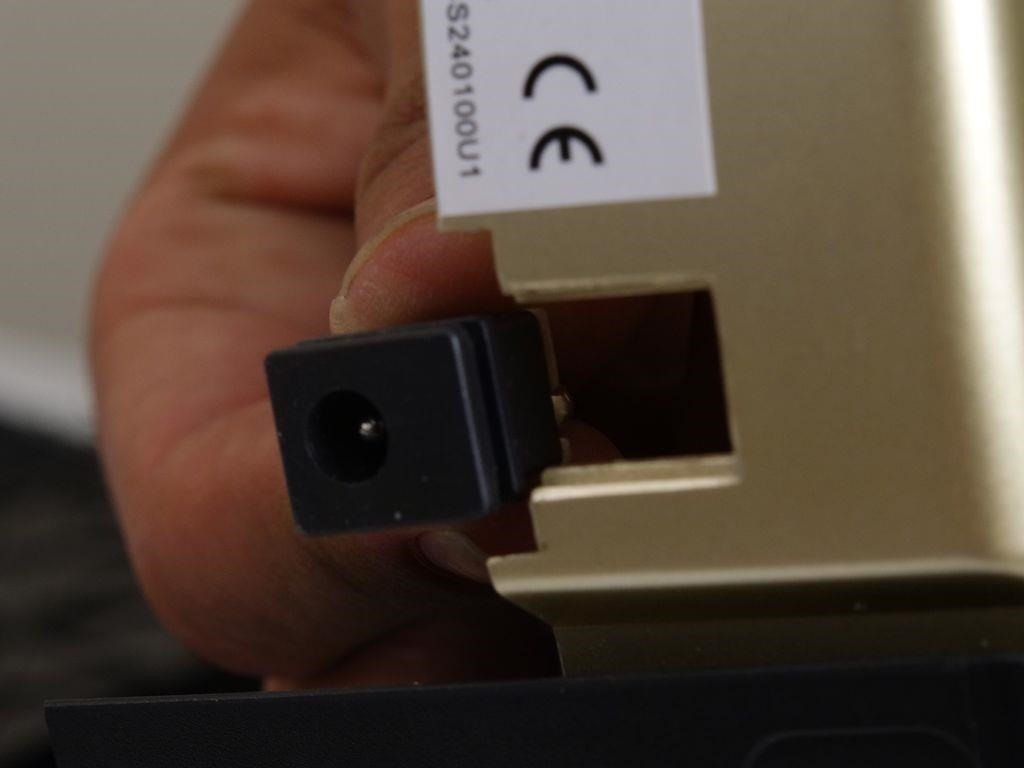
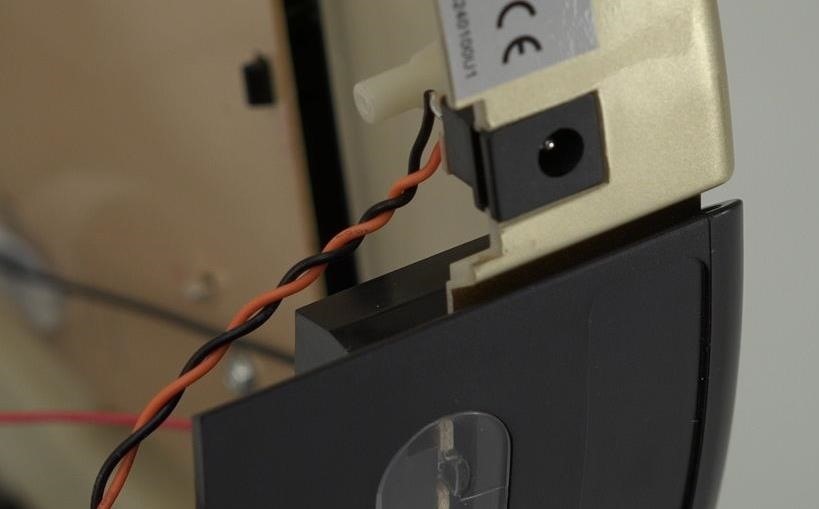
Now you can detach the power inlet from the cover. Grip it and slide it out.
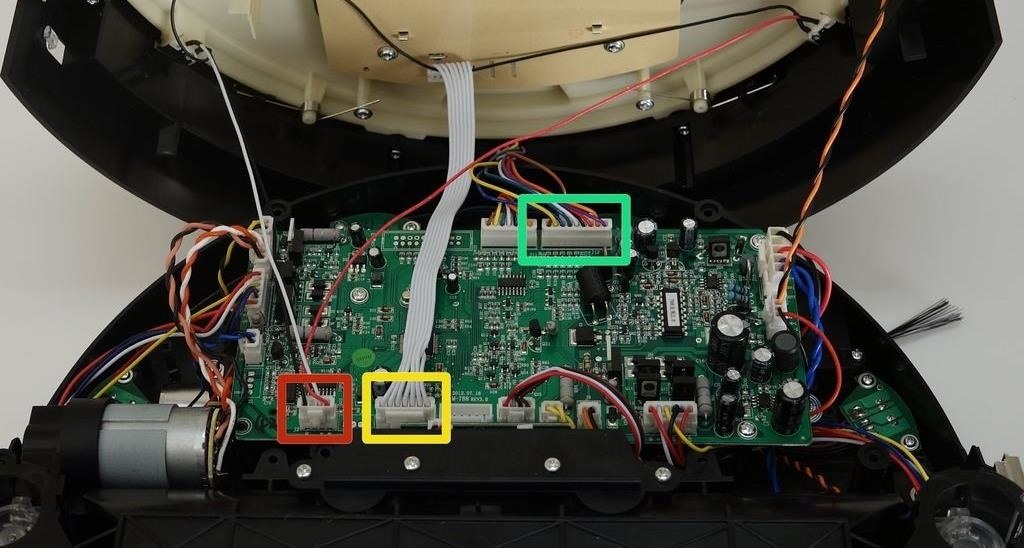
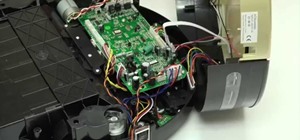
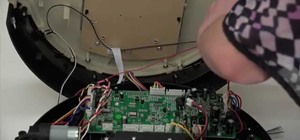
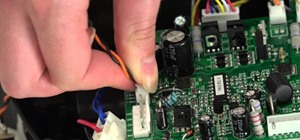
Remove three circuit plugs from the motherboard. Pinch the small white tab on the side of each plug and pull up to detach.
- On the bottom left corner: a small connector with red, black and white wires. (Highlighted Red)
- One thick white wire that attaches on the right side of the previous connector. (Highlighted Yellow)
- On the top edge of Bob's motherboard: a wide multicoloured connector. (Highlighted Green)
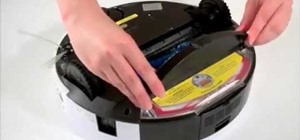
Step 3: Remove the Bumper
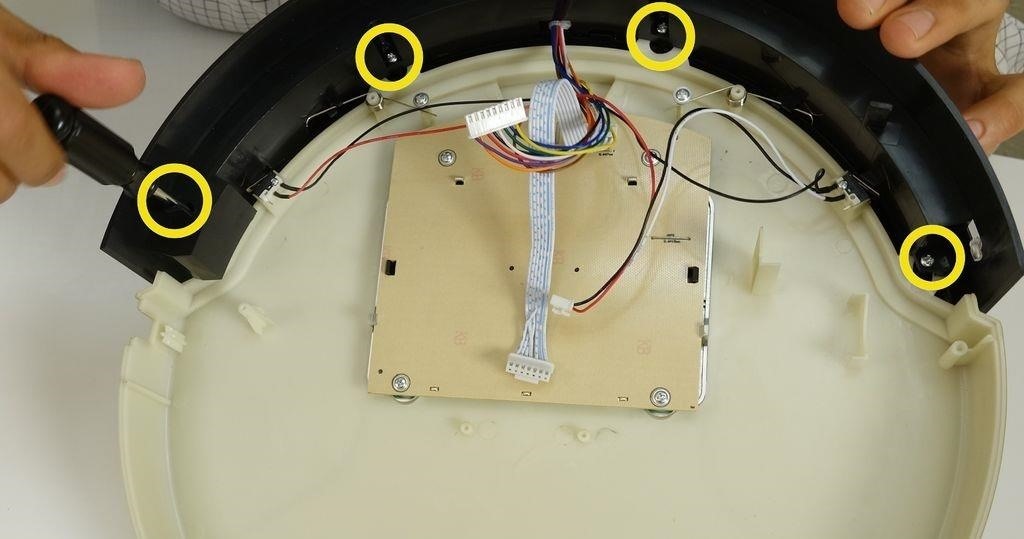
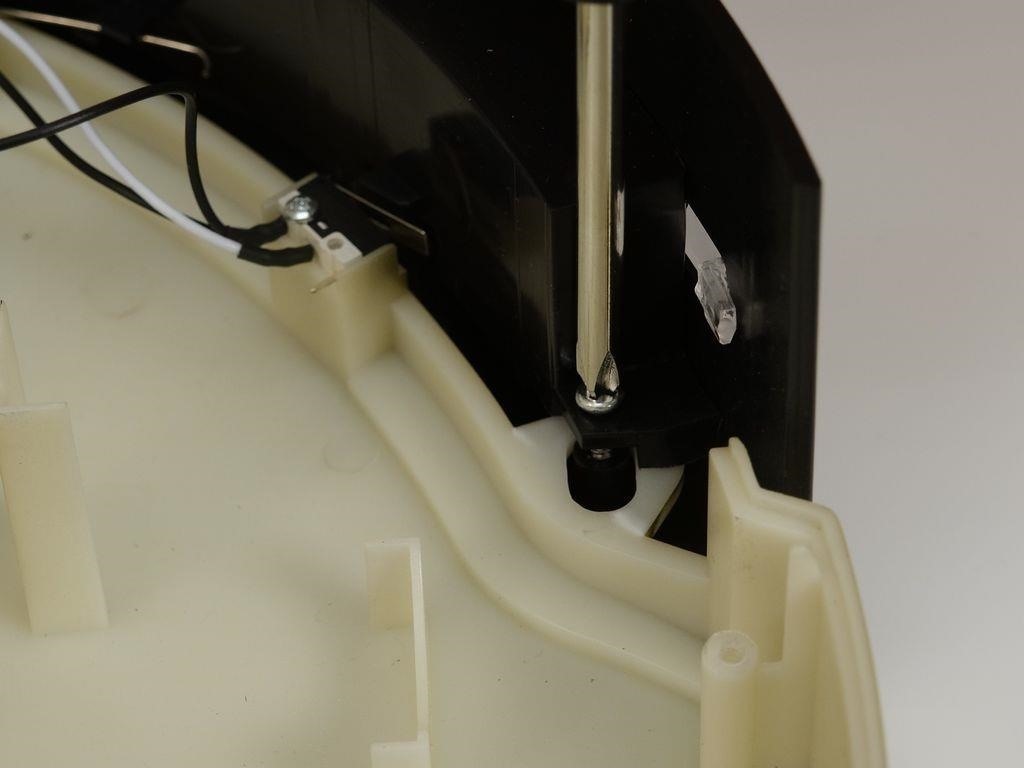
To remove the bumper, uninstall all four screws found around the inside edge of the bumper. There is one hidden inside the screw hole on the left end, two in the centre, and one on the other end. (Highlighted Yellow)
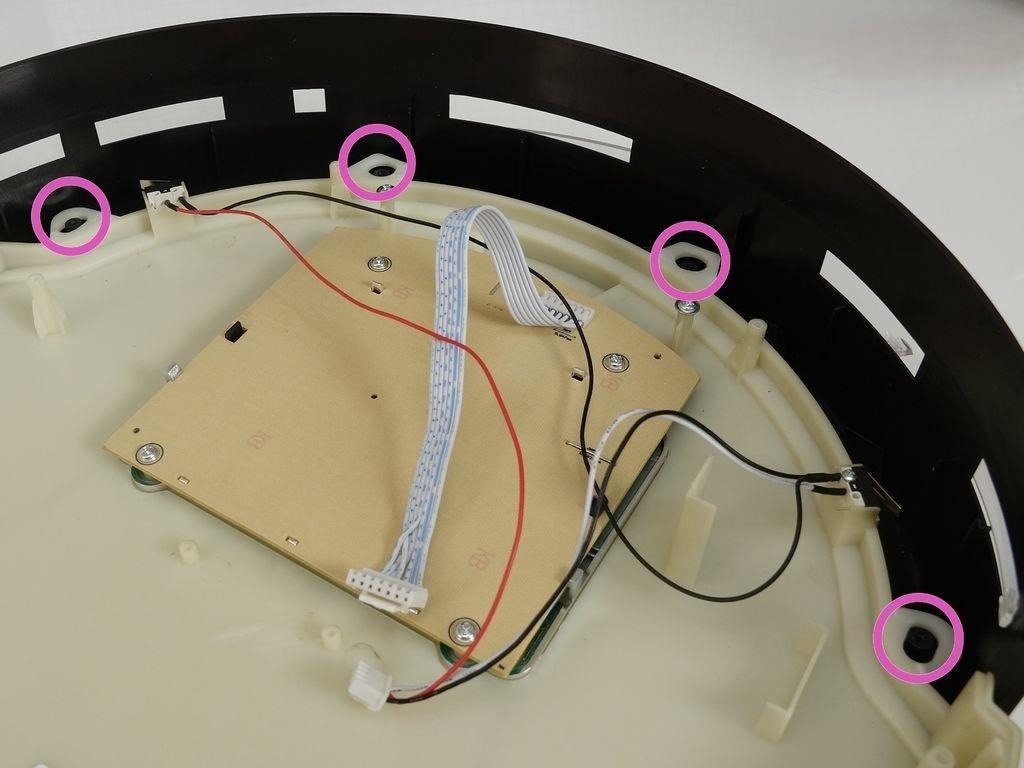
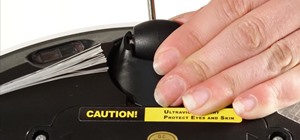
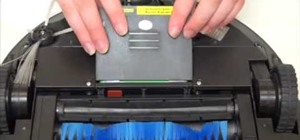
Step 4: Remove the Bumper Springs
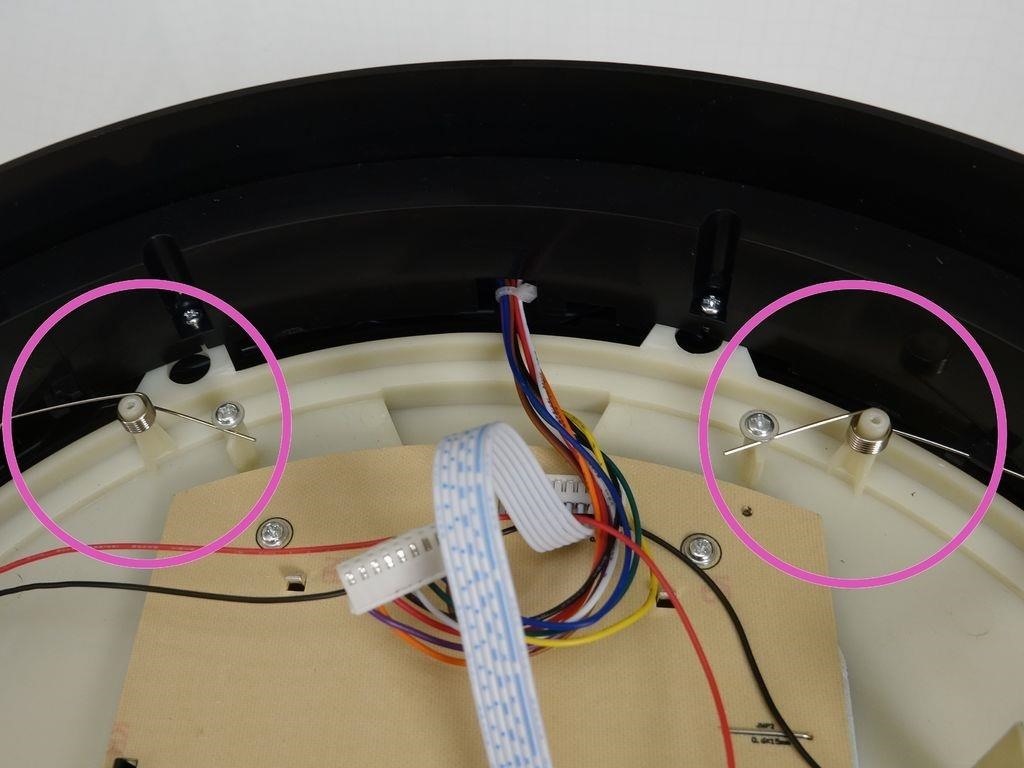
Remove the bumper springs before you lift the bumper assembly up to separate from Bob. (Highlighted Pink)
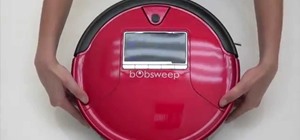
Along with Bob's top, there will be one wired piece that houses the wall sensors plus one large exterior cover with a thin transparent plastic strip that clips on in the middle.
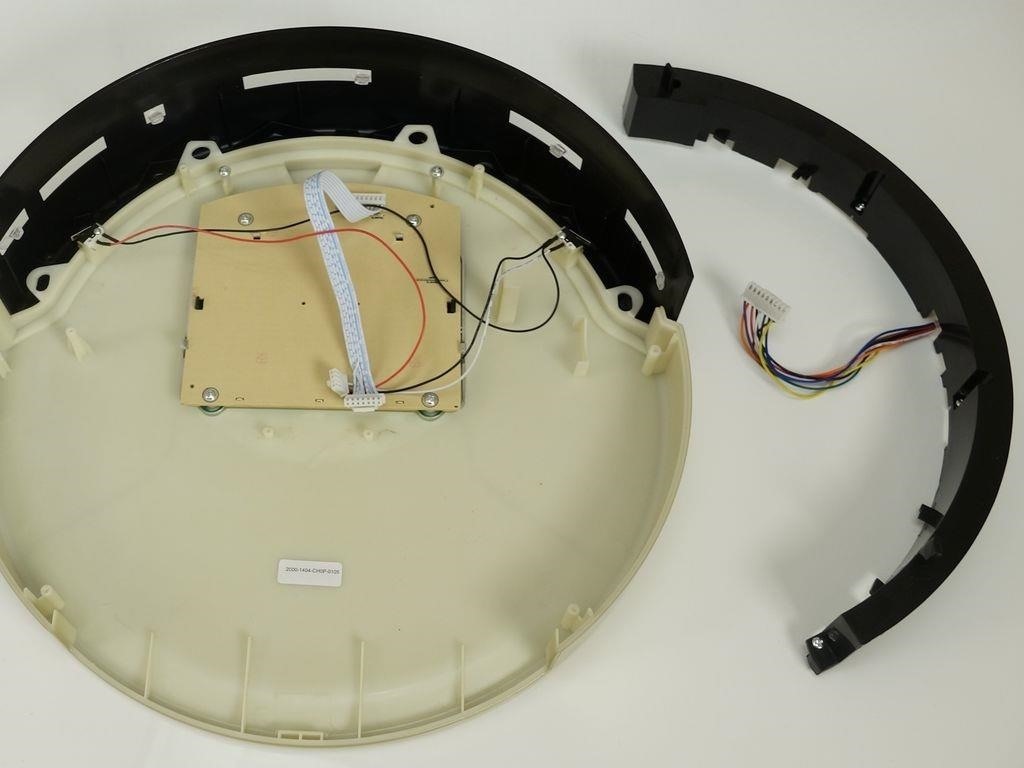
bObsweep Pethair (shown above) has a clear plastic strip but bObsweep Standard's is red.
Keep all parts organized for re-assembly, other than the one you're replacing. If Bob has problems seeing walls, you'll likely need to replace the wired sensor piece only.
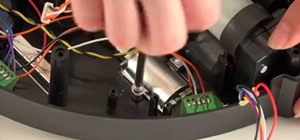
Step 5: Place the New Obstacle Sensors
Place the large bumper cover with the transparent strip underneath bObsweep's cover. The screw posts should sit in the holes around the front edge of Bob's top. (Highlighted Pink)
Carefully lay the wired piece on top, so the screw holes line up with the screw posts of the bumper. Then install all four screws.
It may be easier to screw in the wired piece if you hold the bumper up slightly.
Step 6: Replace the Bumper Springs
Place each bumper spring on its post inside bOb's top.
The curved end of each spring should touch the bumper.
Hook the straight end of the spring behind their holders. It should fit under the screw on each holder post.

Step 7: Replace the Cover
Slide the power inlet back into the space on bObsweep's cover.
Attach the circuit plug with multicoloured wires, to the top right edge of the motherboard.
Attach the smallest circuit plug in the lower left corner of the motherboard.
Attach the all-white circuit plug to the bottom of the motherboard, on the right side of the previous plug. It should look like this:
There should be one empty space in the middle of the bottom row.
Put bObsweep's top back on, and align the edges precisely.
Step 8: Secure the Cover Screws
Re-install the screws you removed to start this repair, so the cover is sealed together.
There are five along the edges of Bob's underside. (Highlighted Red)
Plus one or two more in the screw holes inside the brush compartment. (Highlighted Green)
Depending on your bObsweep model, there may be only one screw in the brush compartment.
Step 9: Install bOb's Main Brush
Re-install the main brush before setting bObsweep to clean again.
Attach the end piece first.
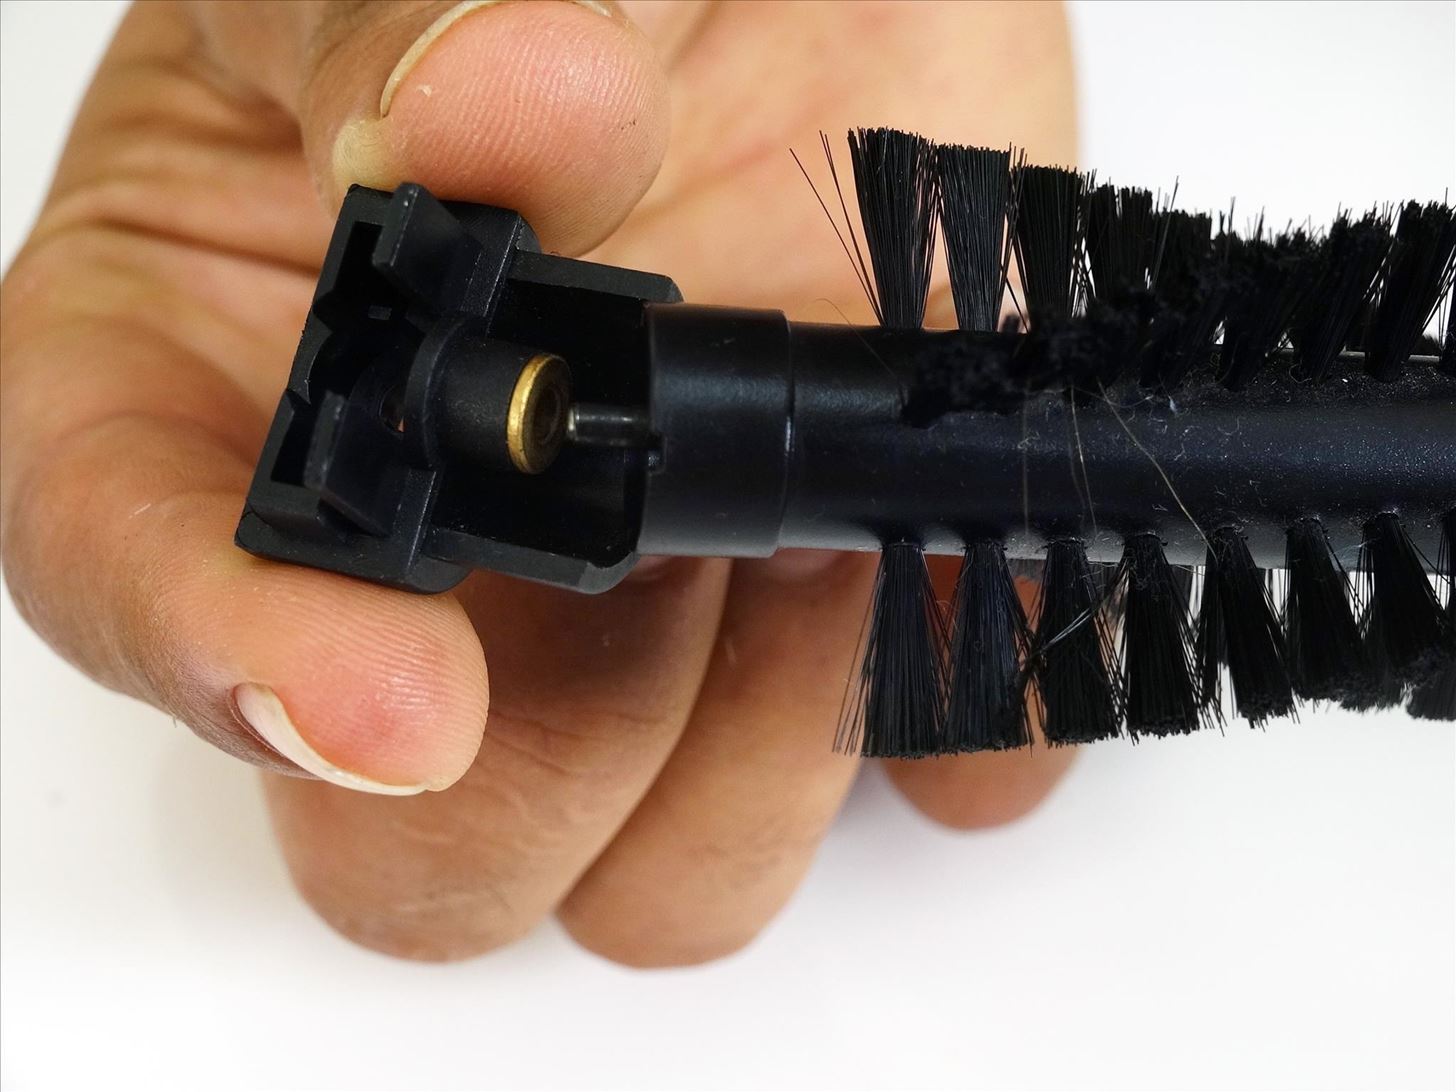
Put the square end in the square space inside bObsweep, then lower the brush in place.
Install the screw securely to finish this repair.
Just updated your iPhone? You'll find new emoji, enhanced security, podcast transcripts, Apple Cash virtual numbers, and other useful features. There are even new additions hidden within Safari. Find out what's new and changed on your iPhone with the iOS 17.4 update.

Be the First to Comment
Share Your Thoughts