
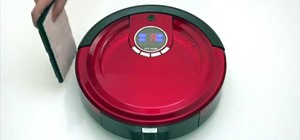
bObsweep Standard and Pethair both come with their lithium-ion battery installed for you. But if you ever need to remove and replace the battery on either model, follow the walk through below.
These installation instructions apply to both bObsweep Pethair and Standard. Your battery cover may have small wheels as well, but that does not impact the battery assembly.
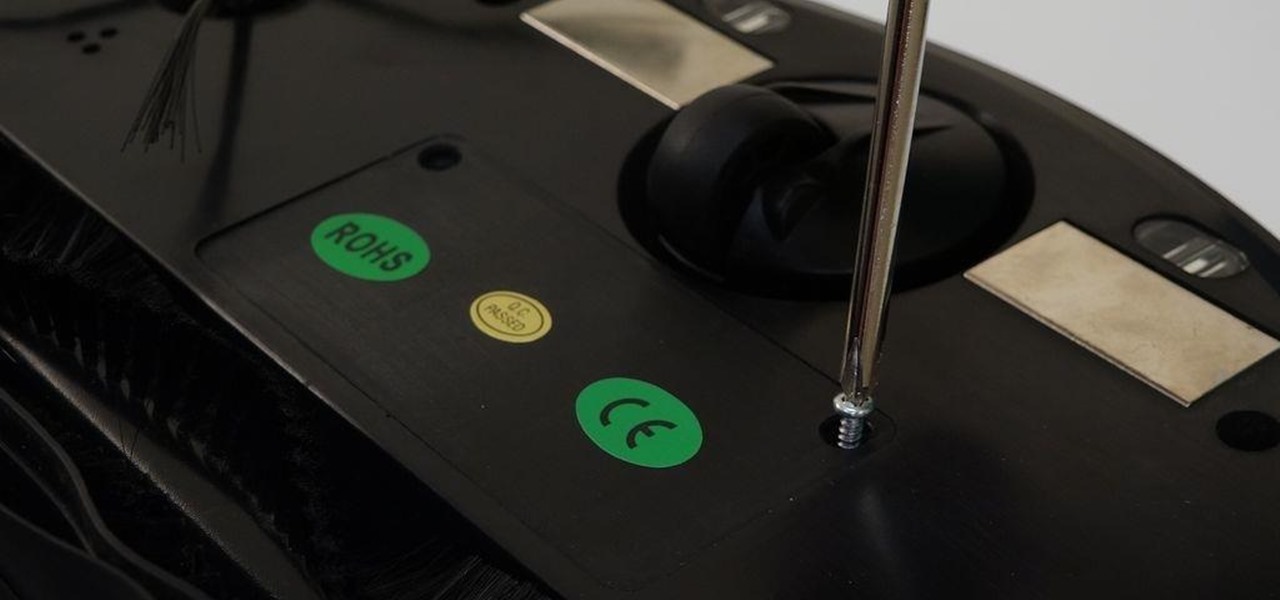
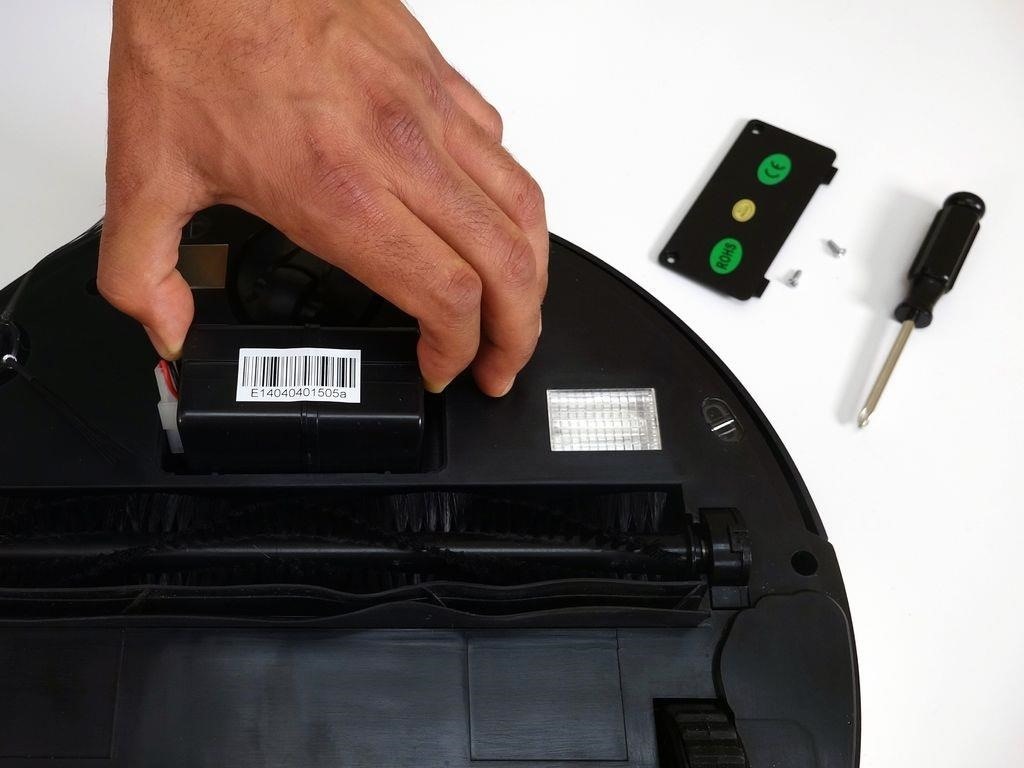
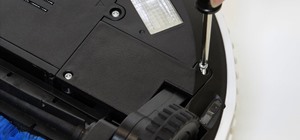
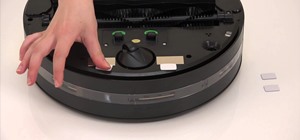
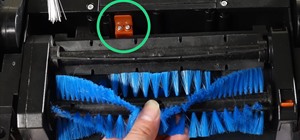
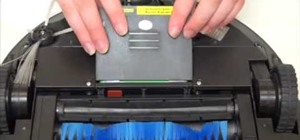
Step 1: Remove the Battery Cover
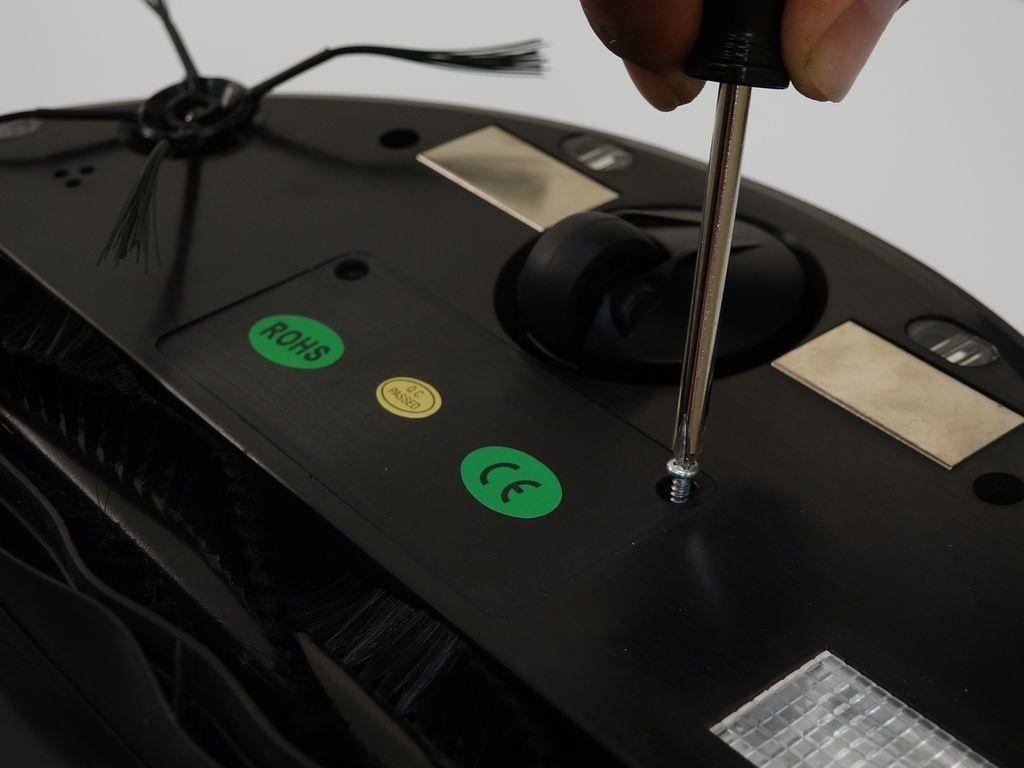
Use a Phillips head screwdriver to remove the two screws holding Bob's battery cover plate down. (Highlighted Blue)
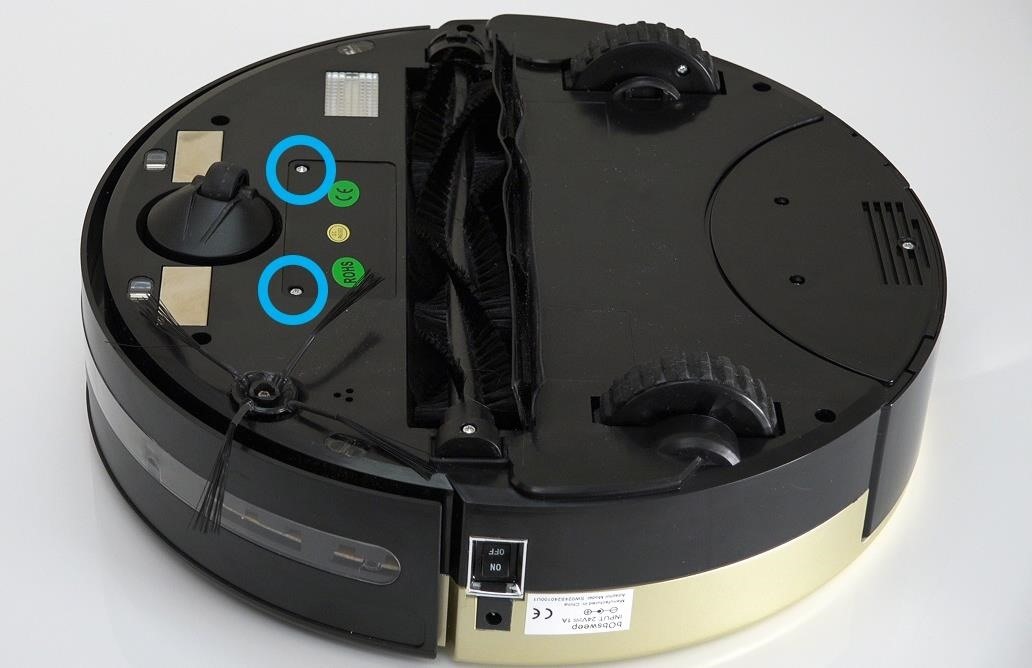
Keep the screws aside in a safe place, as they will be needed for re-assembly.
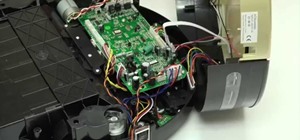
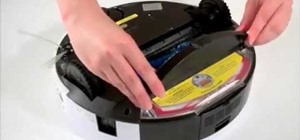
Lift the battery cover up.
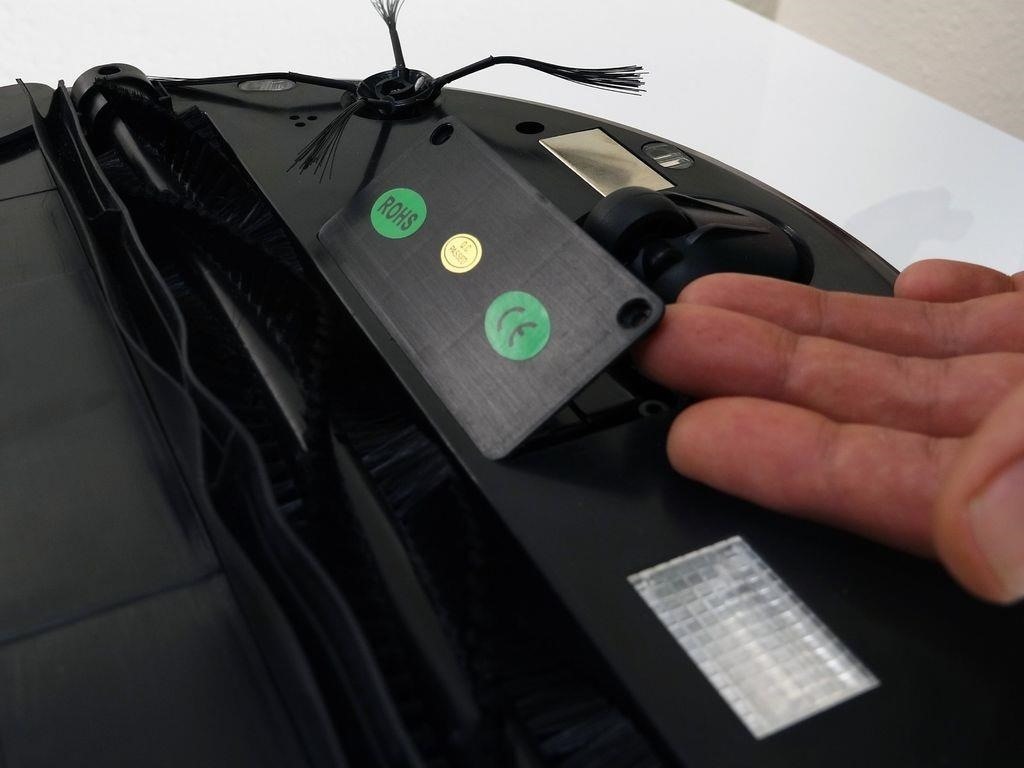
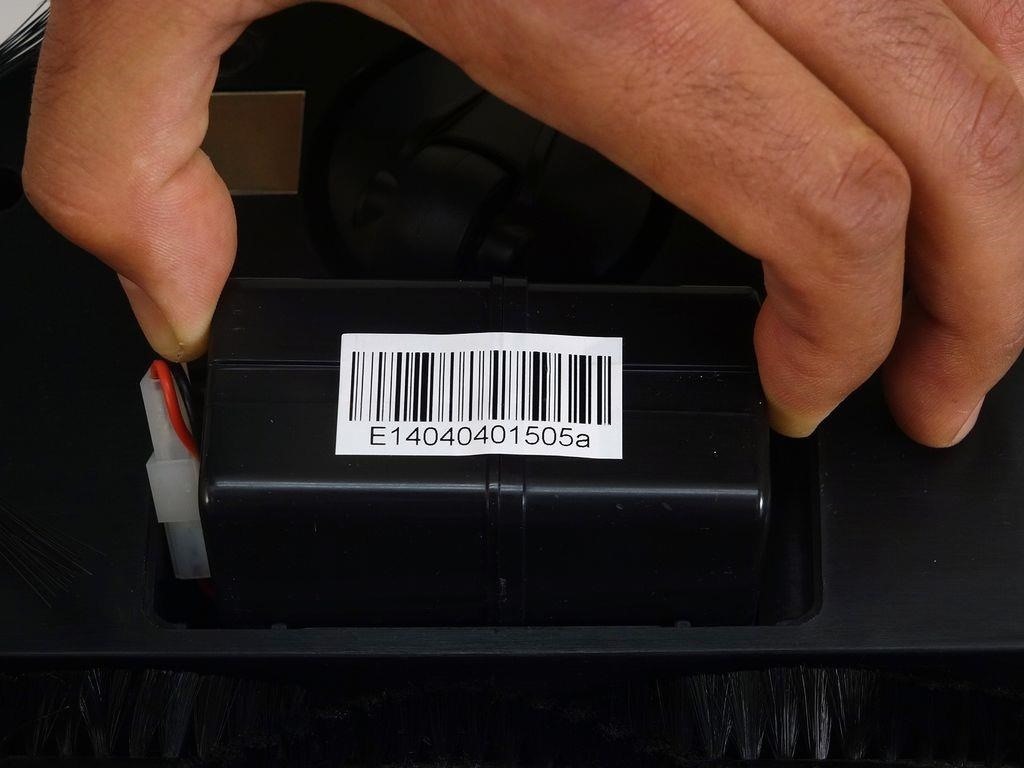
Lift the battery out of its compartment.
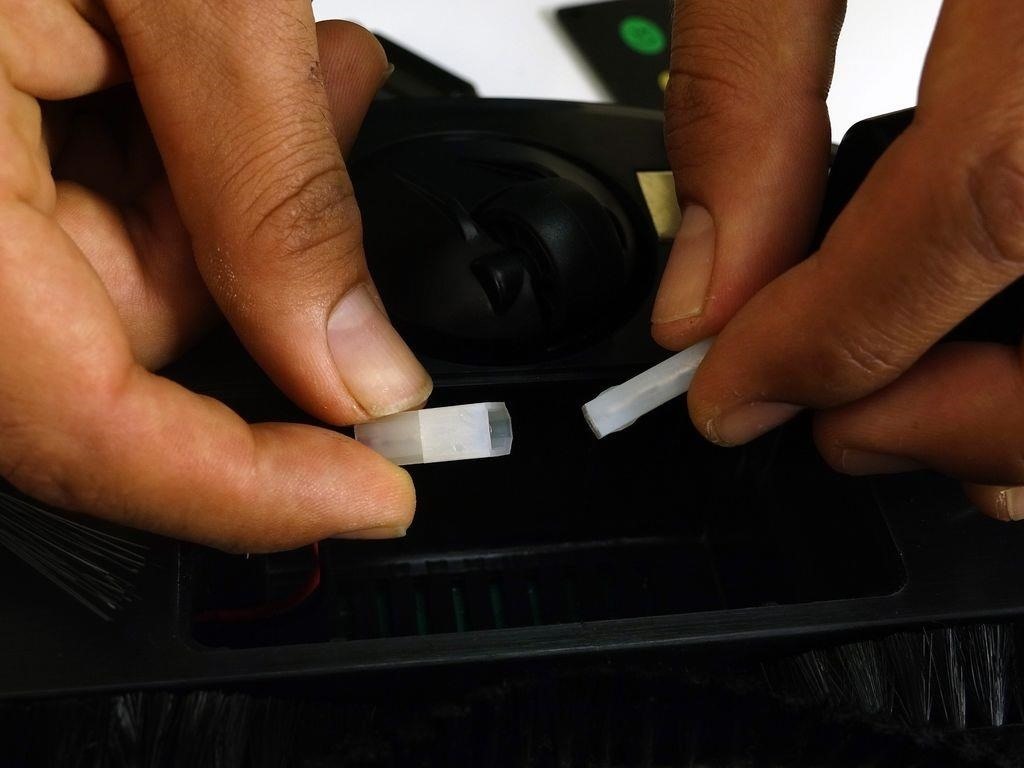
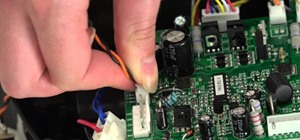
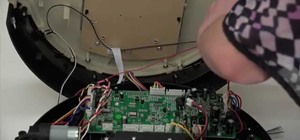
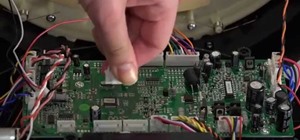
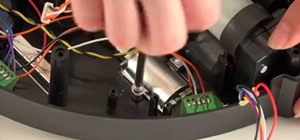
Step 2: Unplug the Battery
Unplug the connector to remove the battery completely.
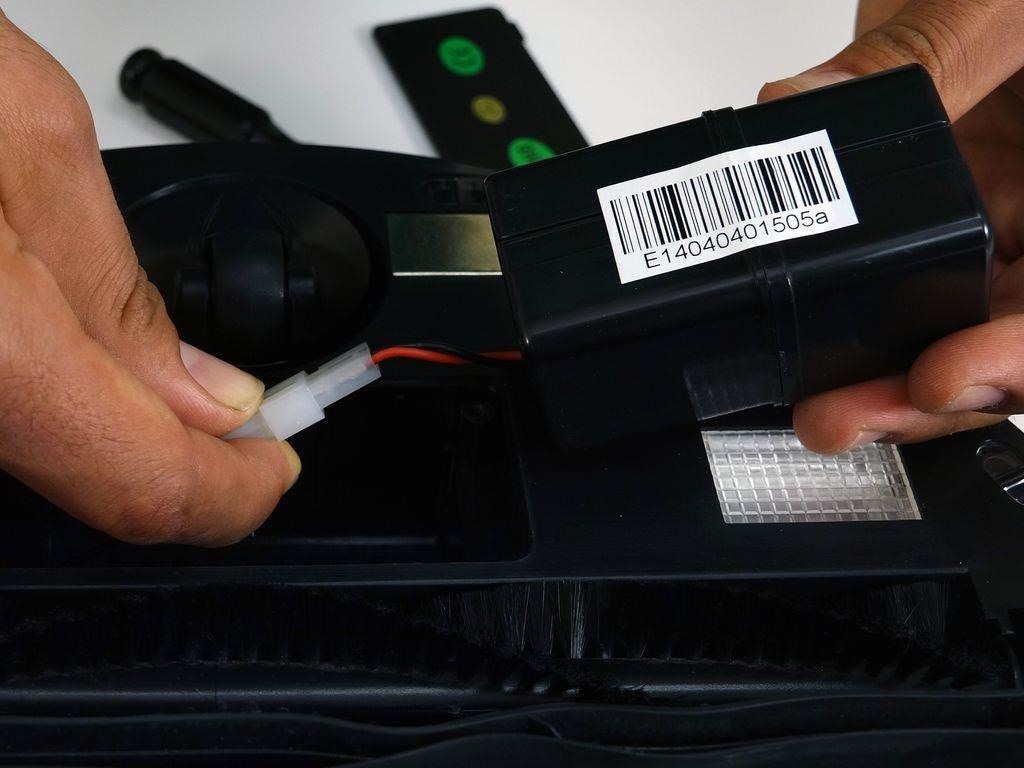
Using both hands, pinch the plastic connector where the battery's wiring attaches to bObsweep then pull apart.
Step 3: Plug in a New Battery
Connect the wires of the new battery. Push together tightly and it will lock in place.
Tuck the wires down inside the battery compartment on the left side.
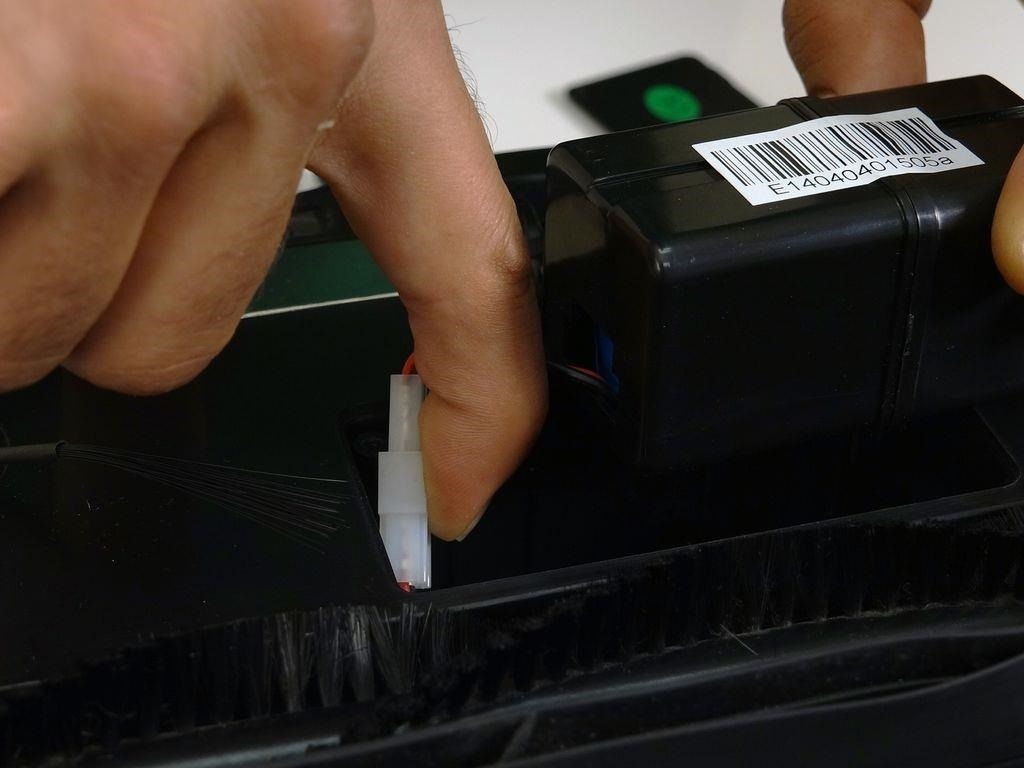
Lower the battery down into bObsweep.
Step 4: Secure the Cover Plate
Lower the cover down so it lies flat and the screw holes of the cover line up with those on bObsweep.
Reinstall the two screws removed in step one to secure the cover and battery in place.
Just updated your iPhone? You'll find new emoji, enhanced security, podcast transcripts, Apple Cash virtual numbers, and other useful features. There are even new additions hidden within Safari. Find out what's new and changed on your iPhone with the iOS 17.4 update.


Be the First to Comment
Share Your Thoughts